Super Compact Audio-RGB-LED with Microphone
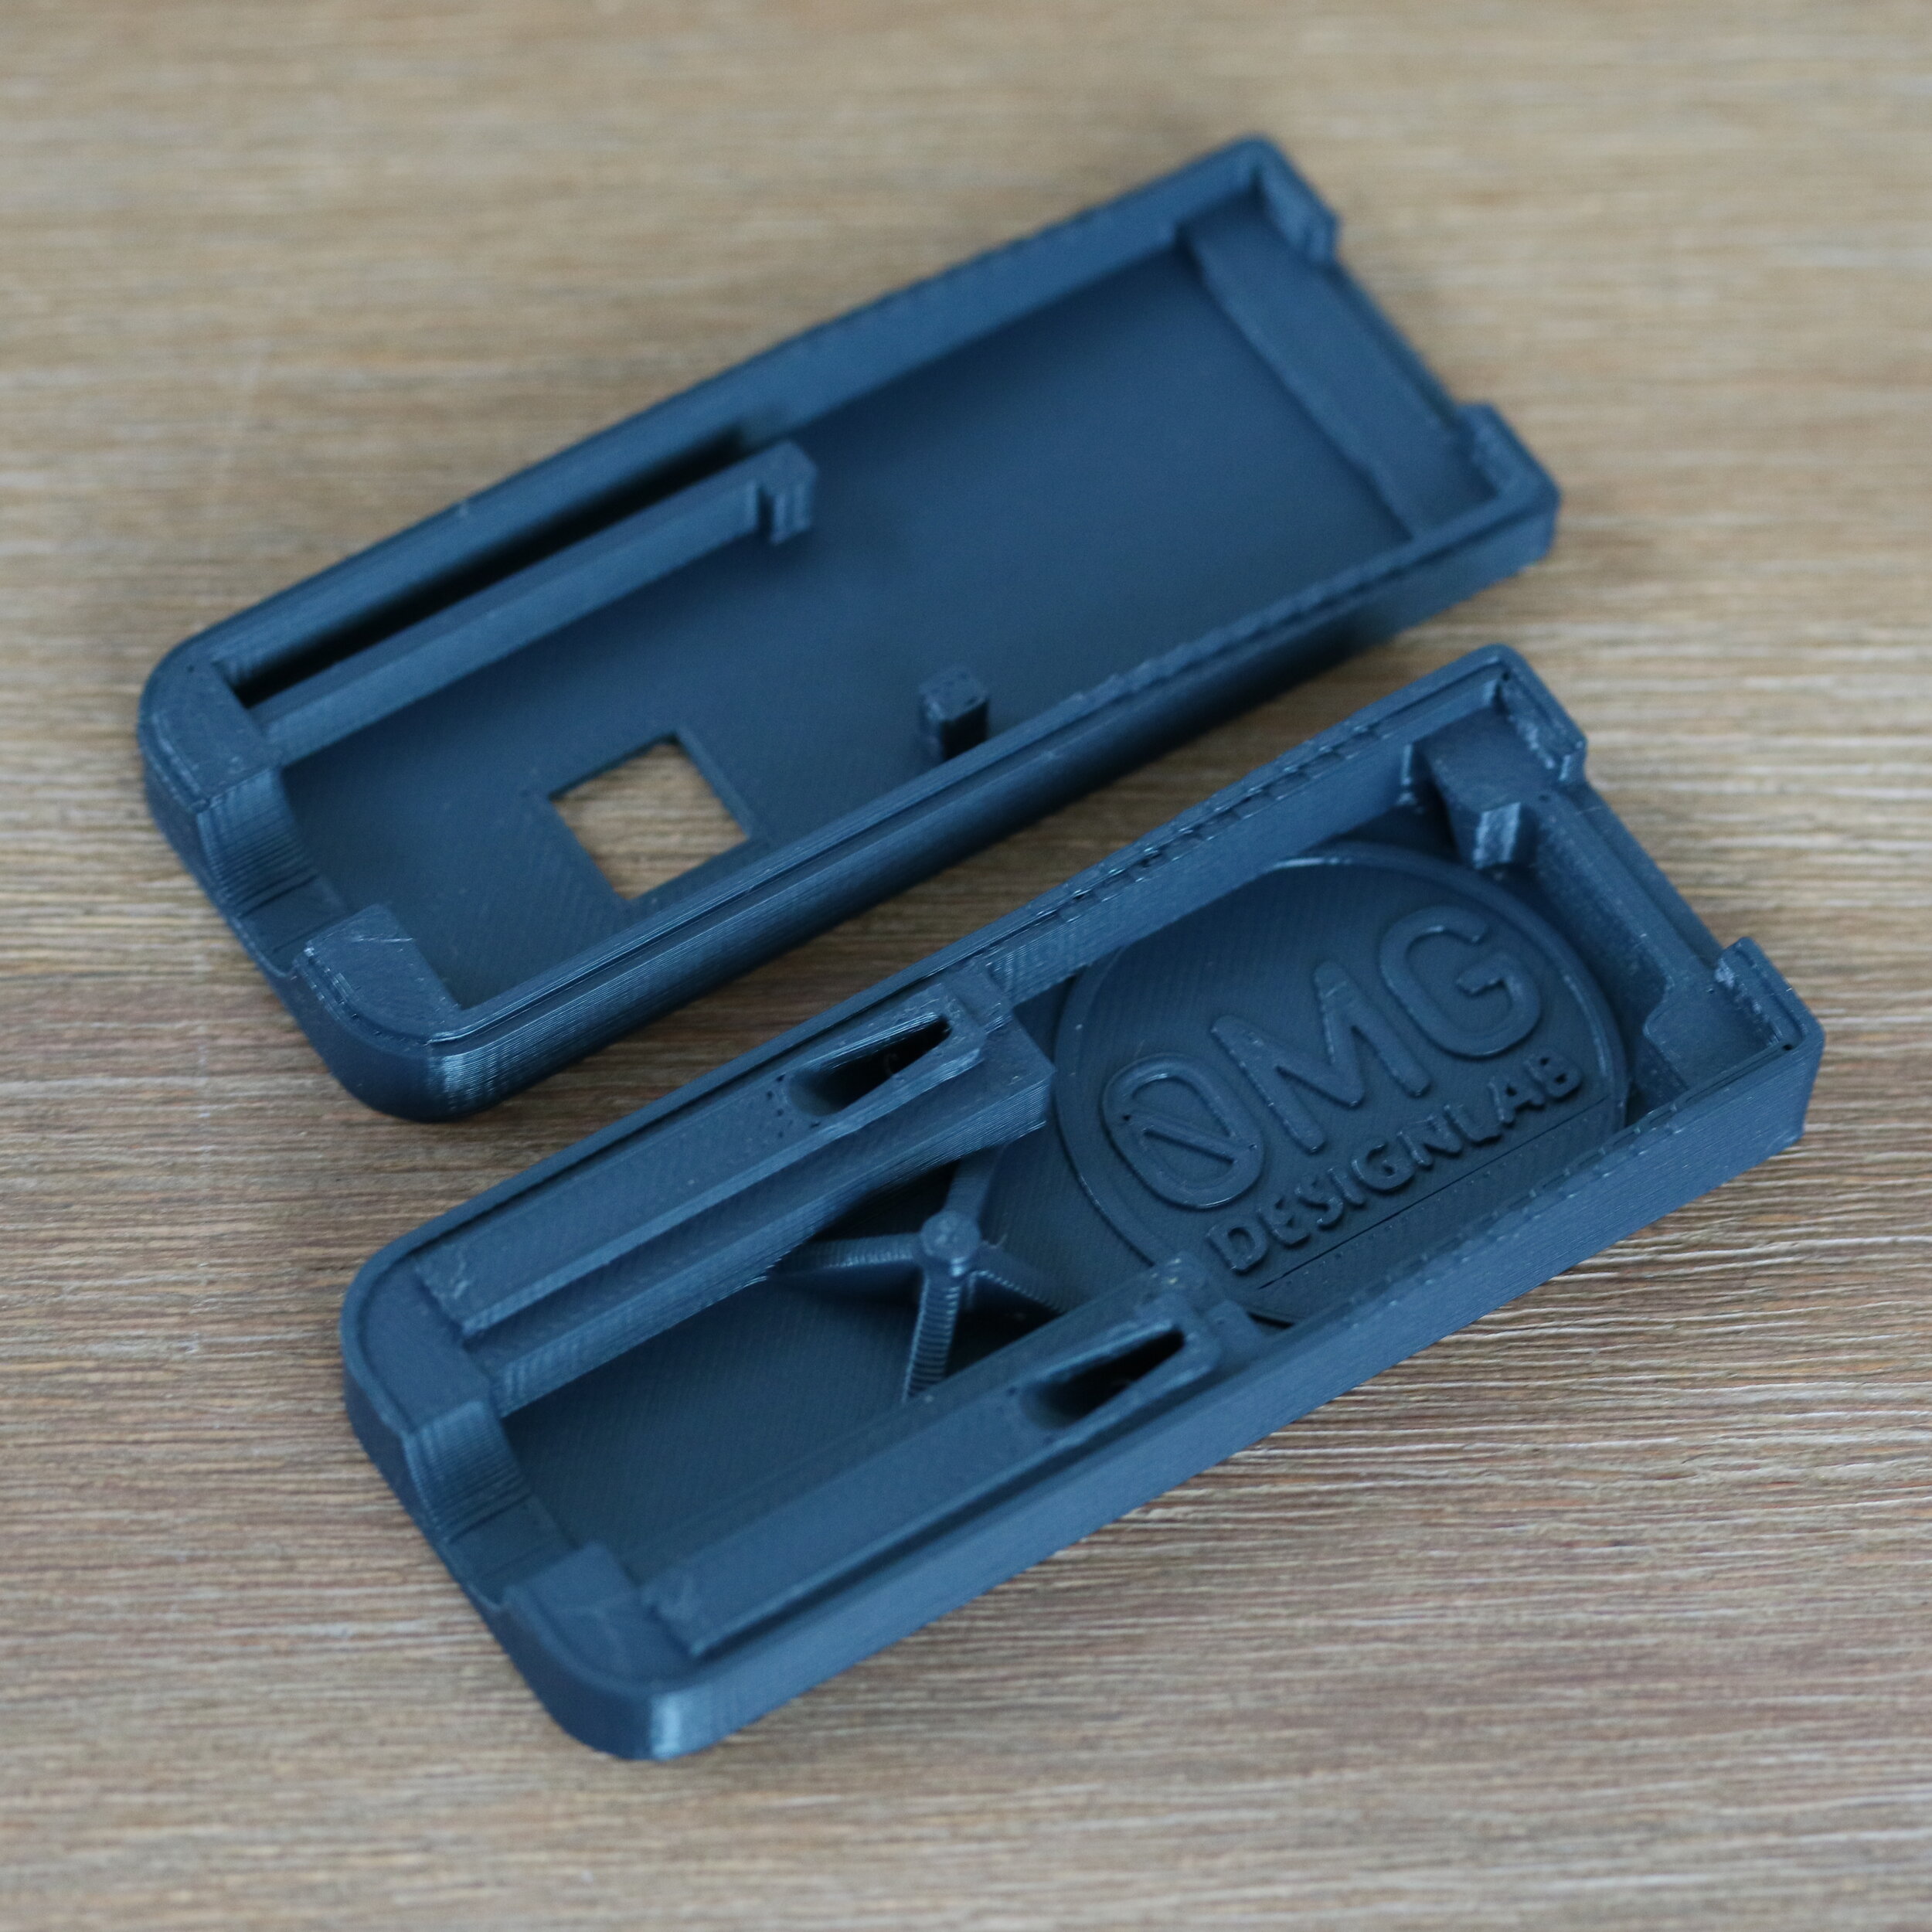
Audio-RGB-LED case for ESP8266 module
You can download the 3D-Model of the case @cults3d.com - Download Link.

What do I need for a audio responsive LED strip?*
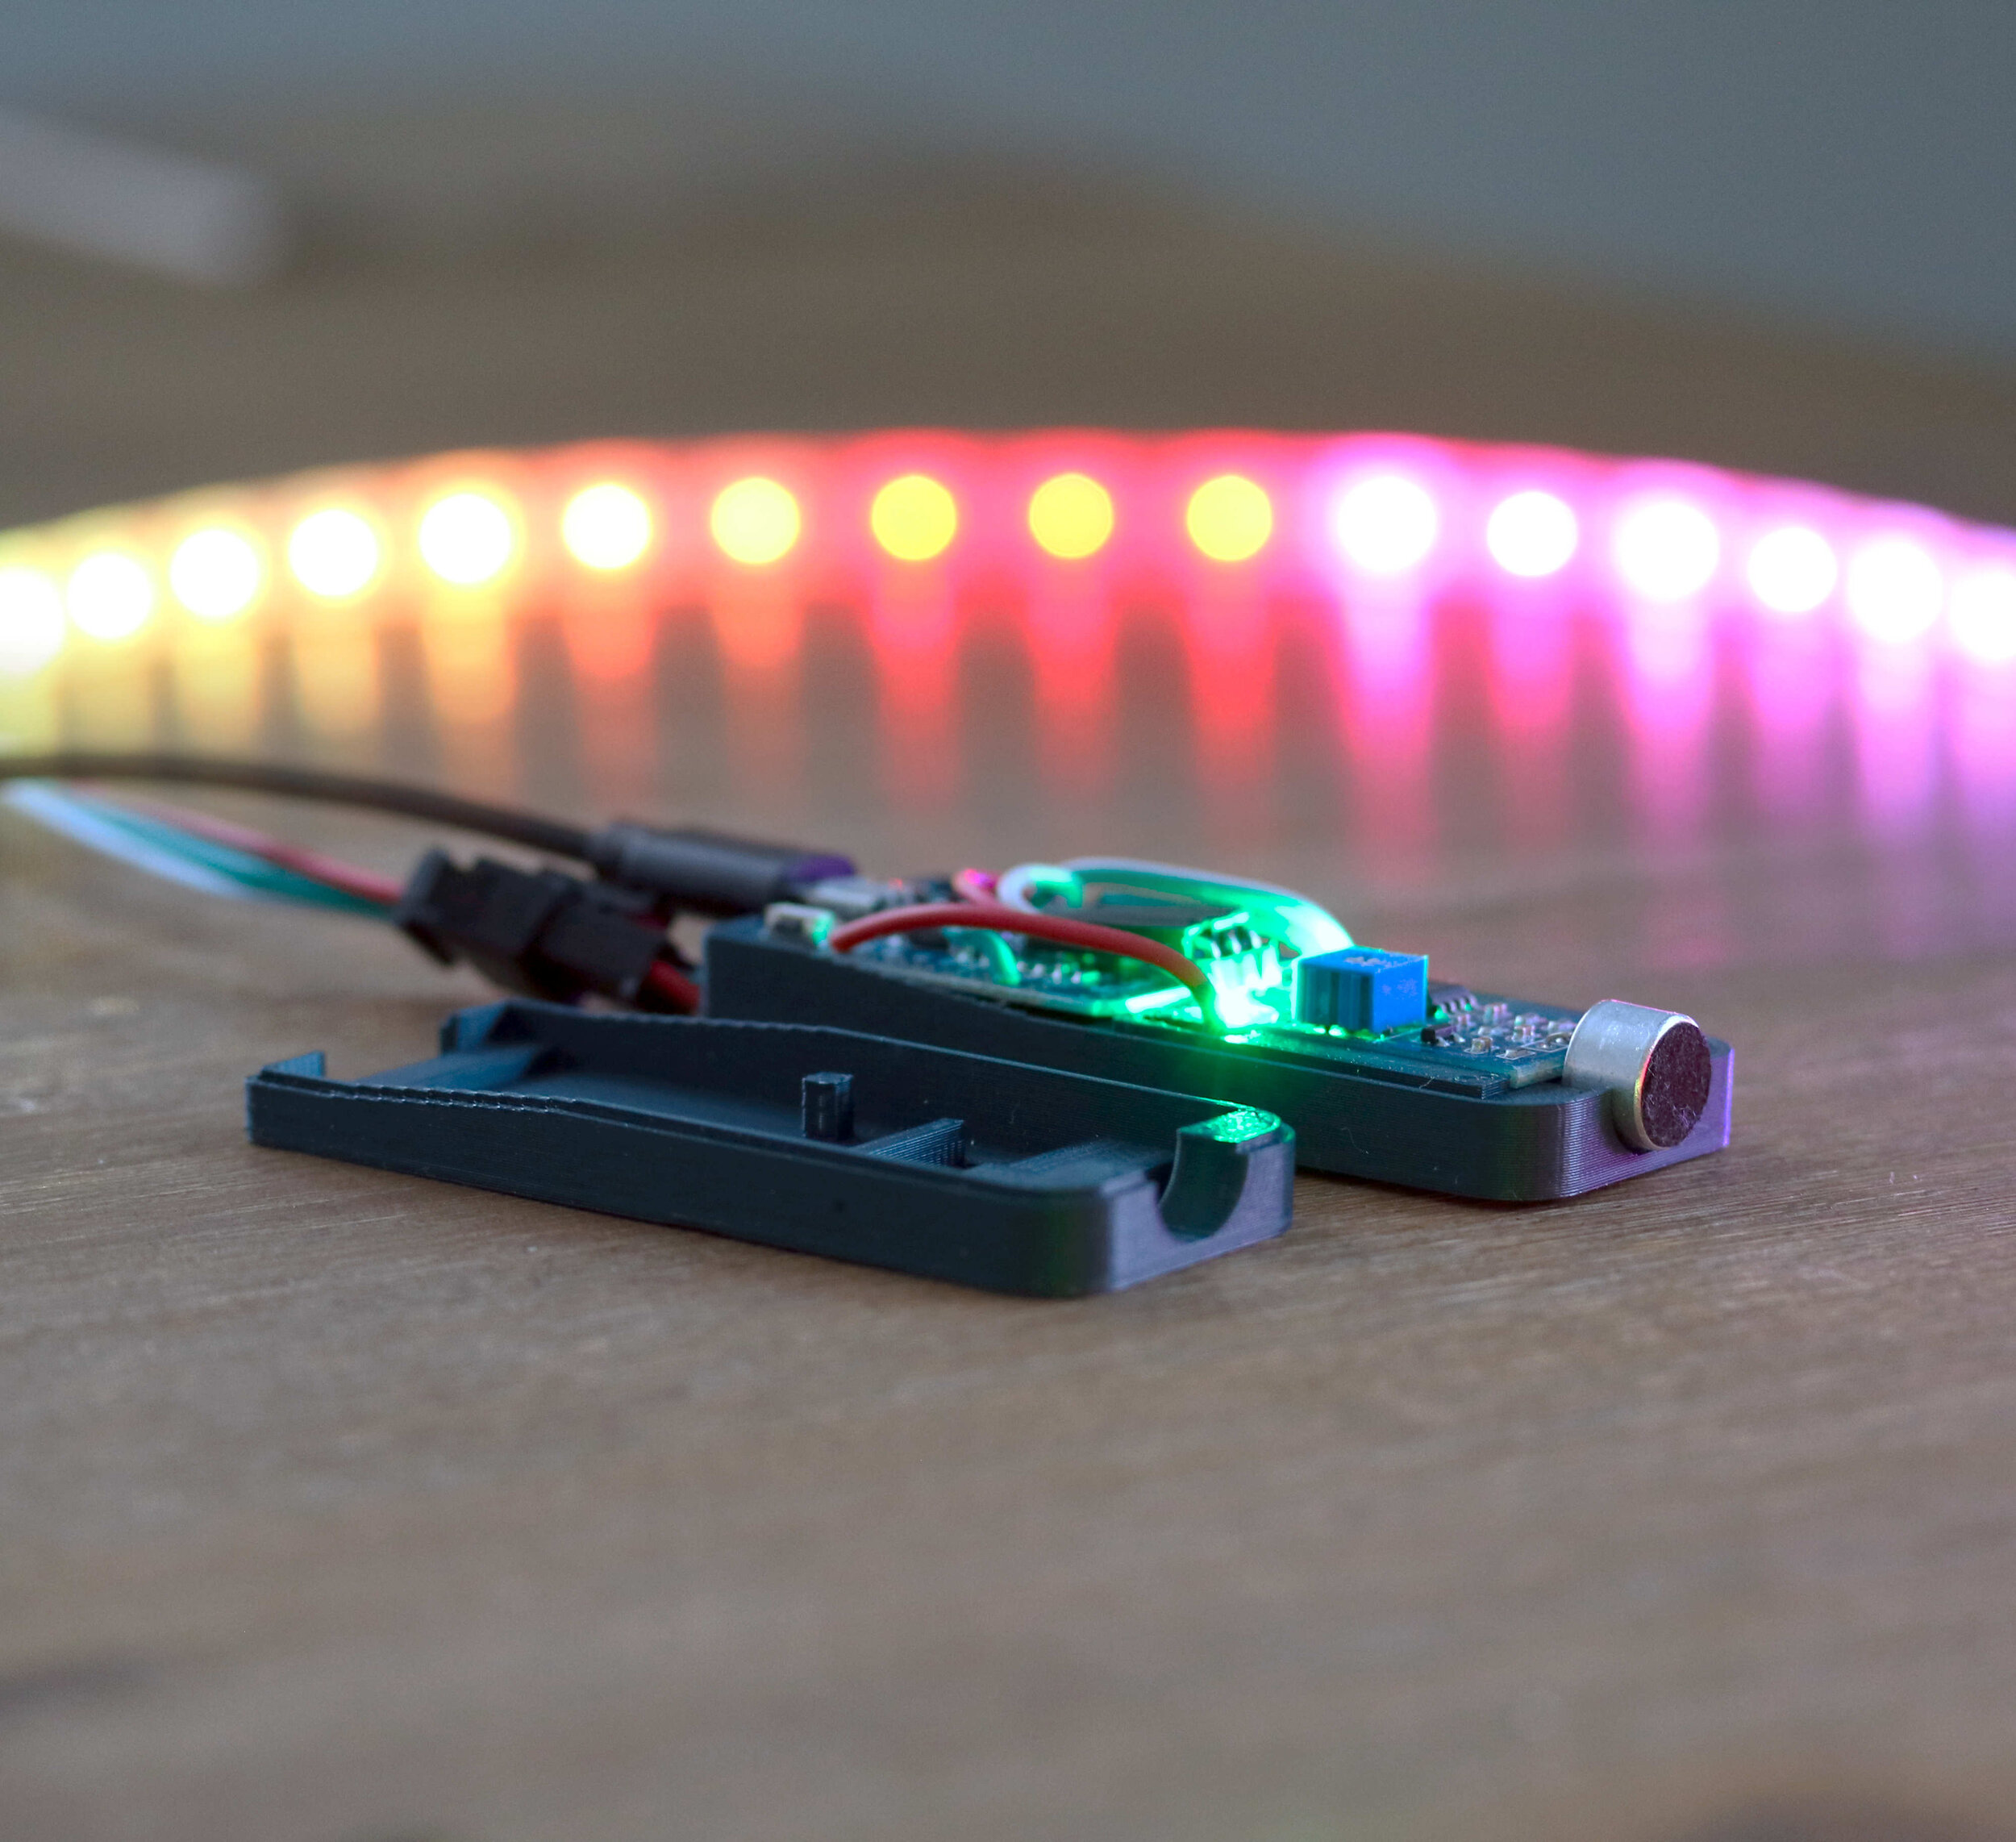
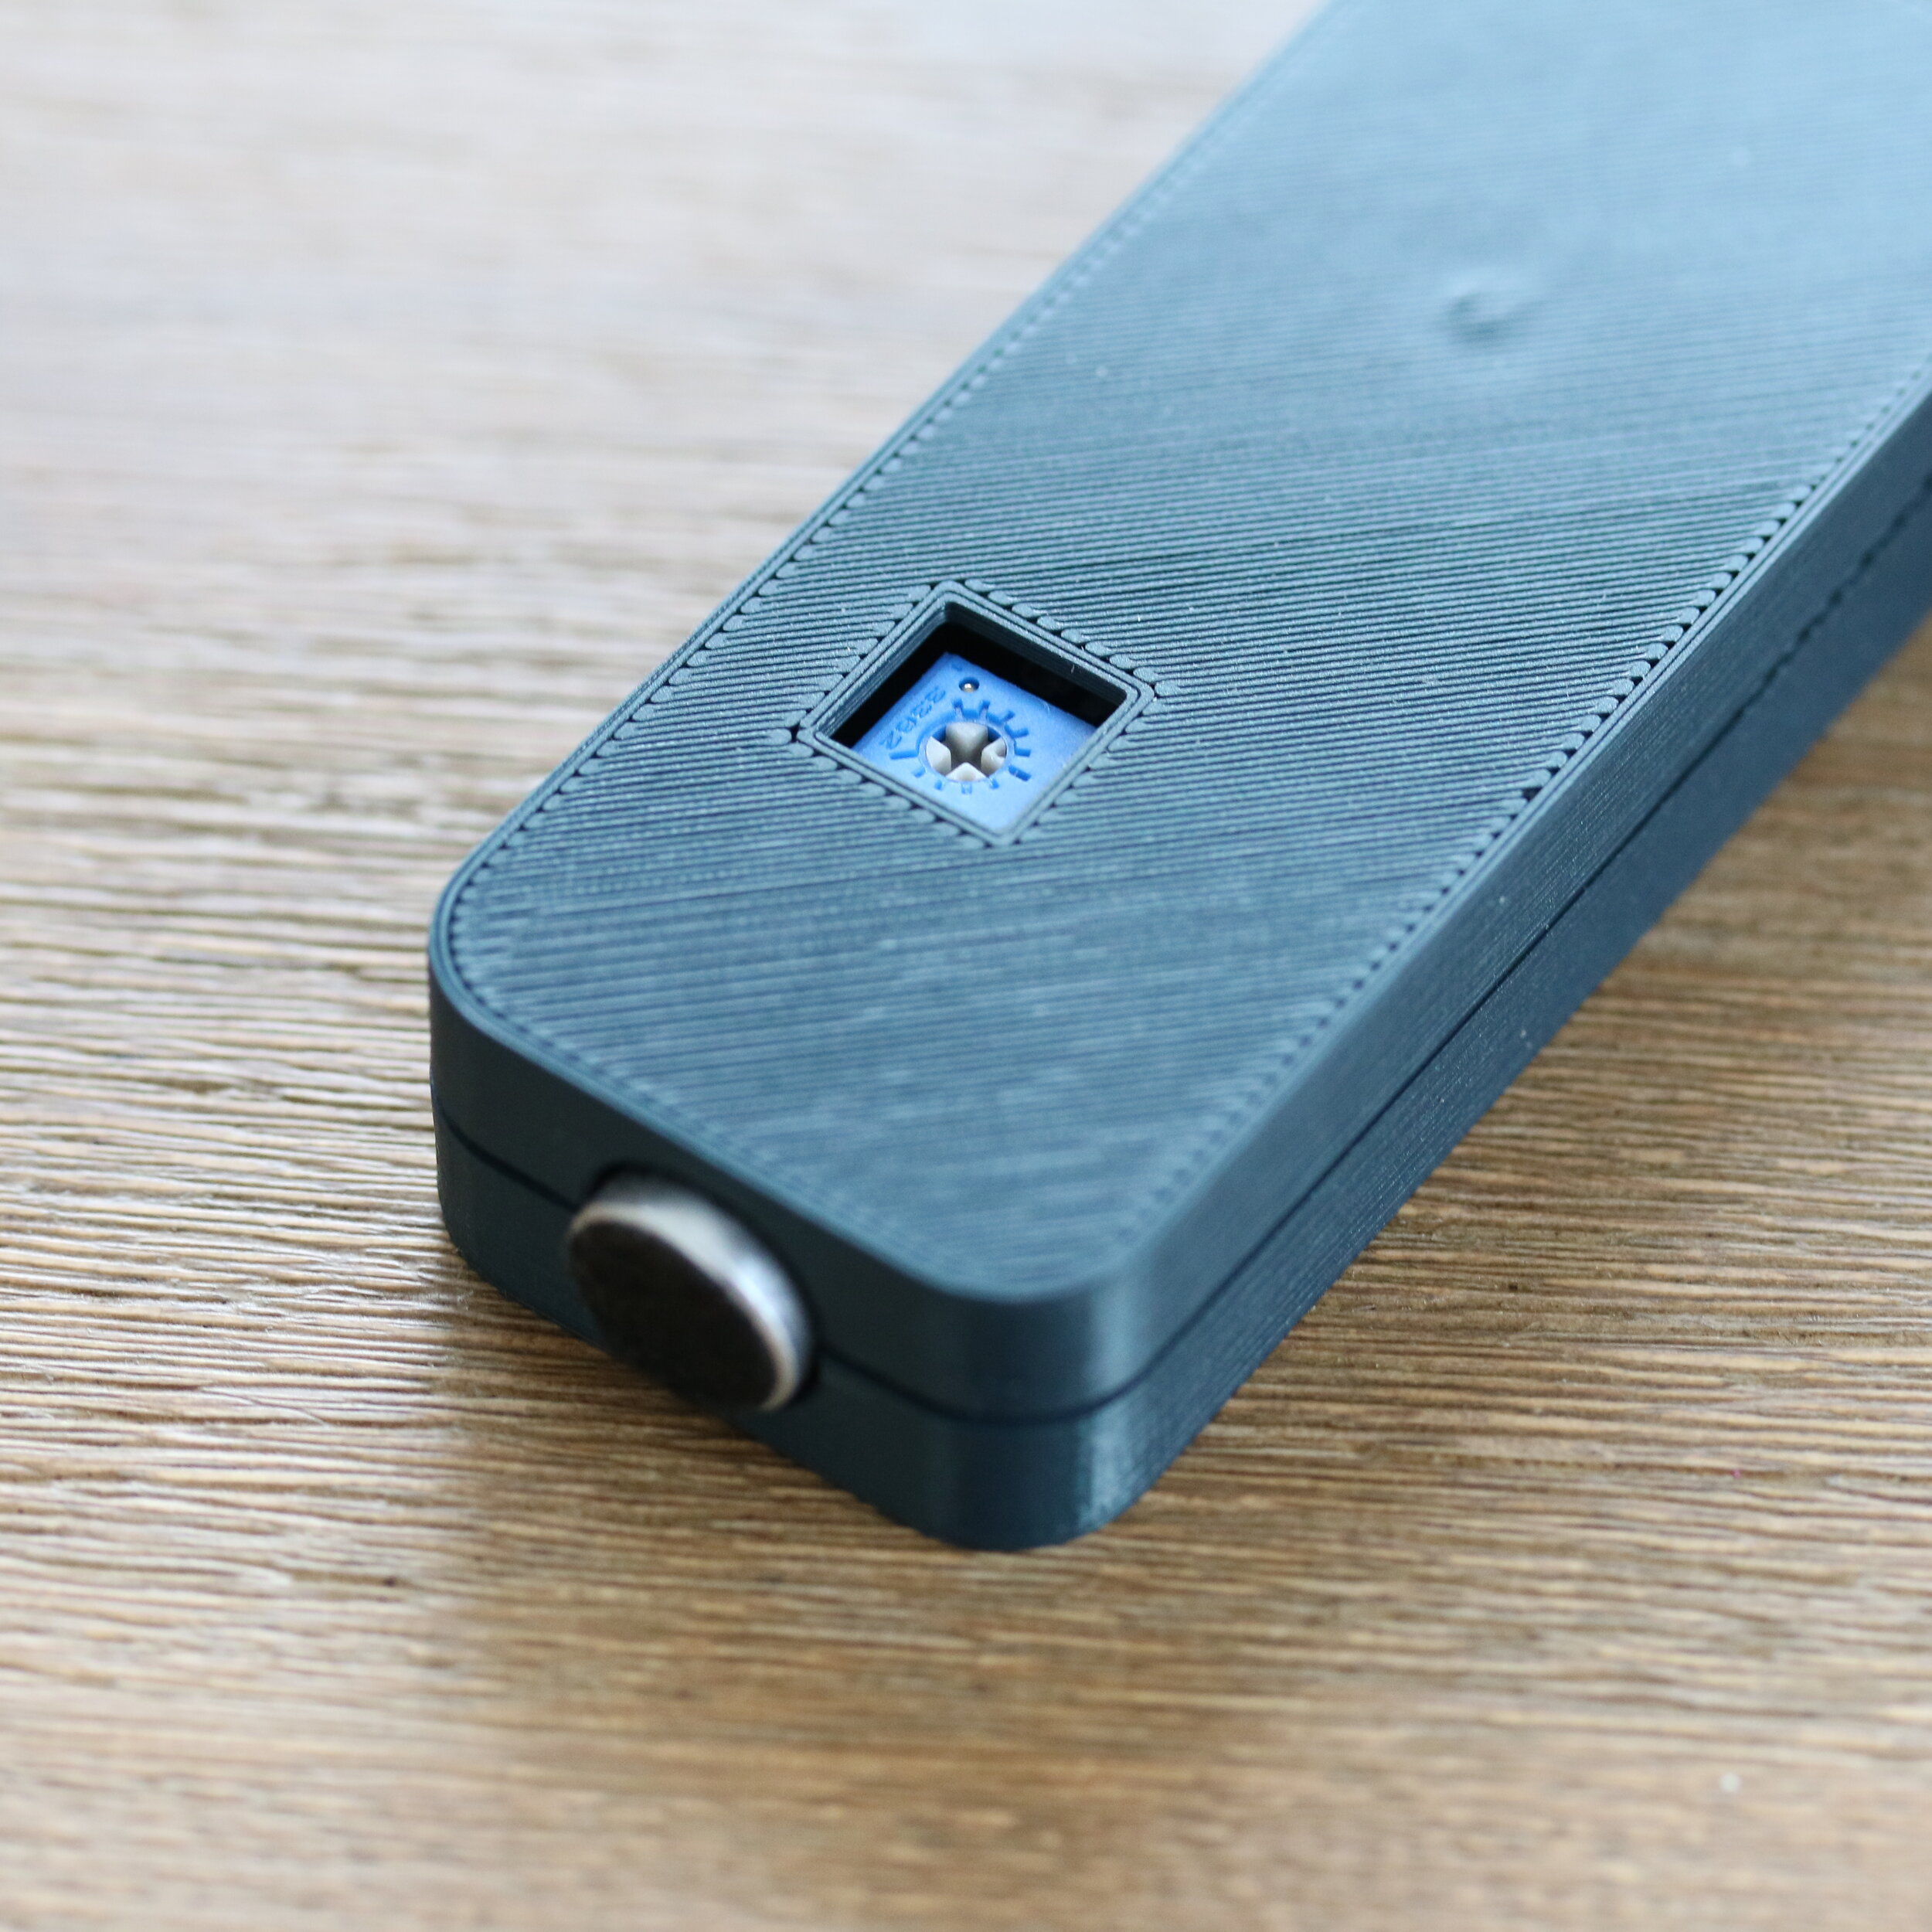
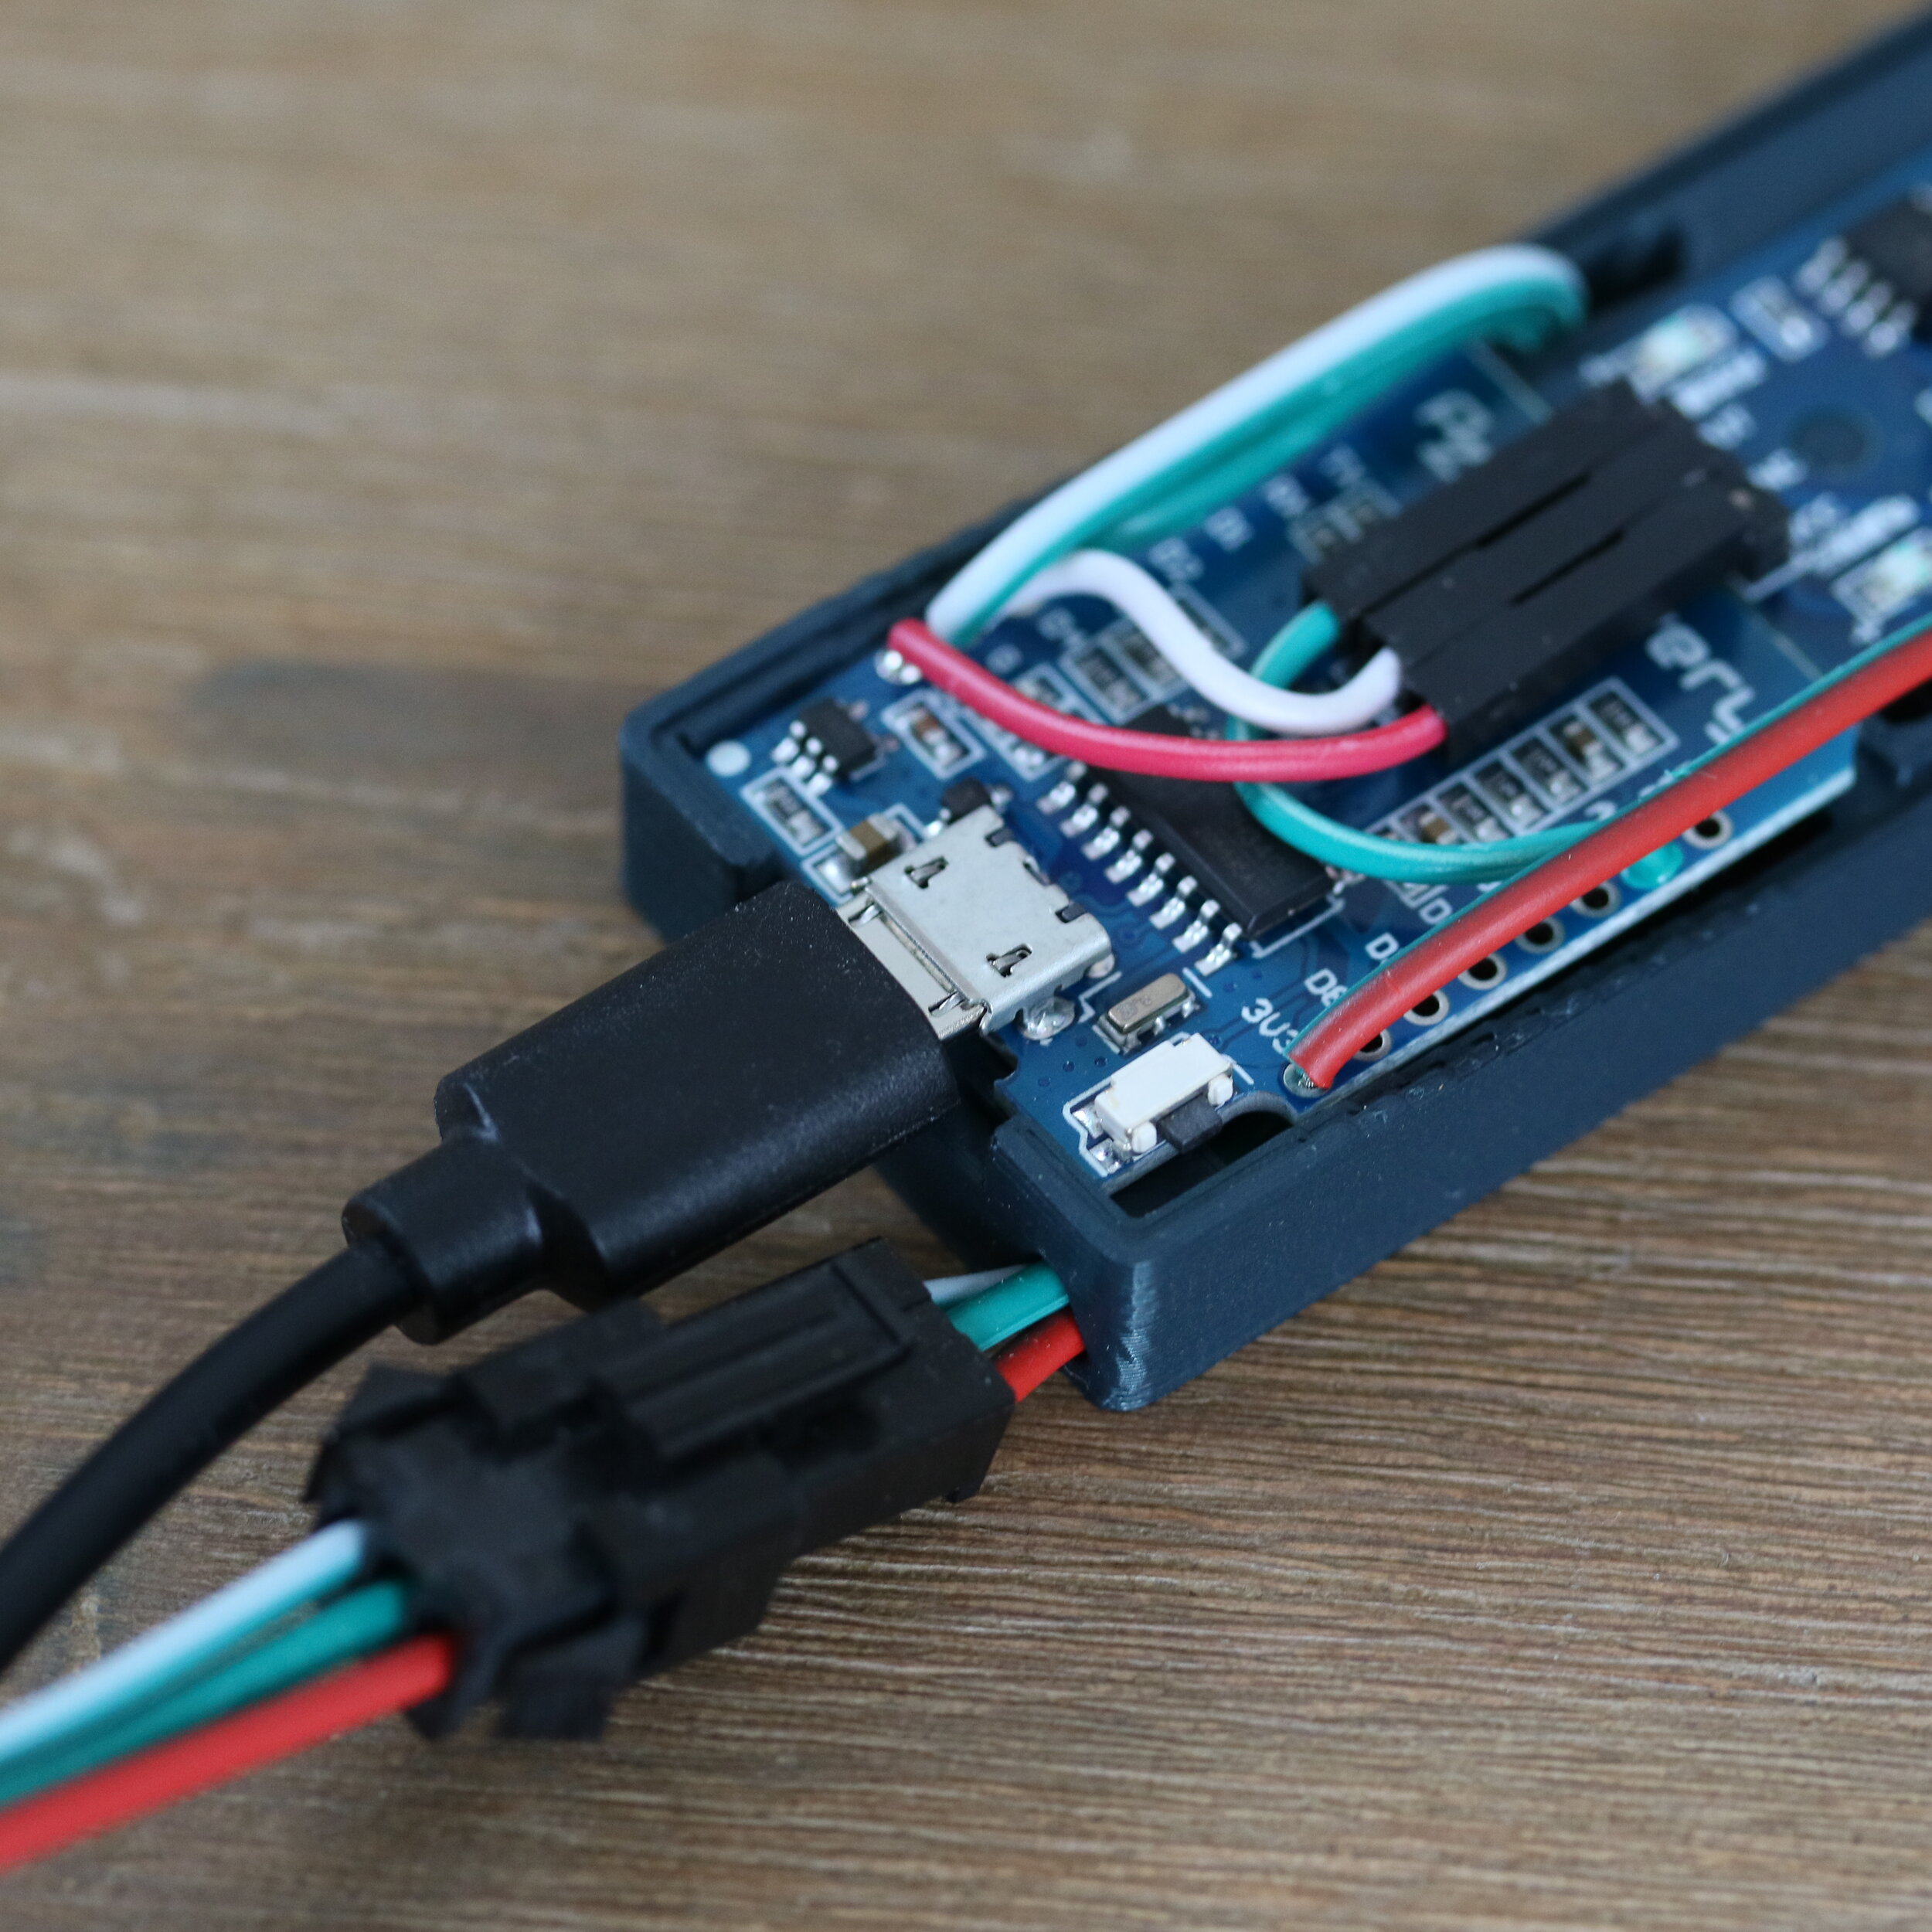
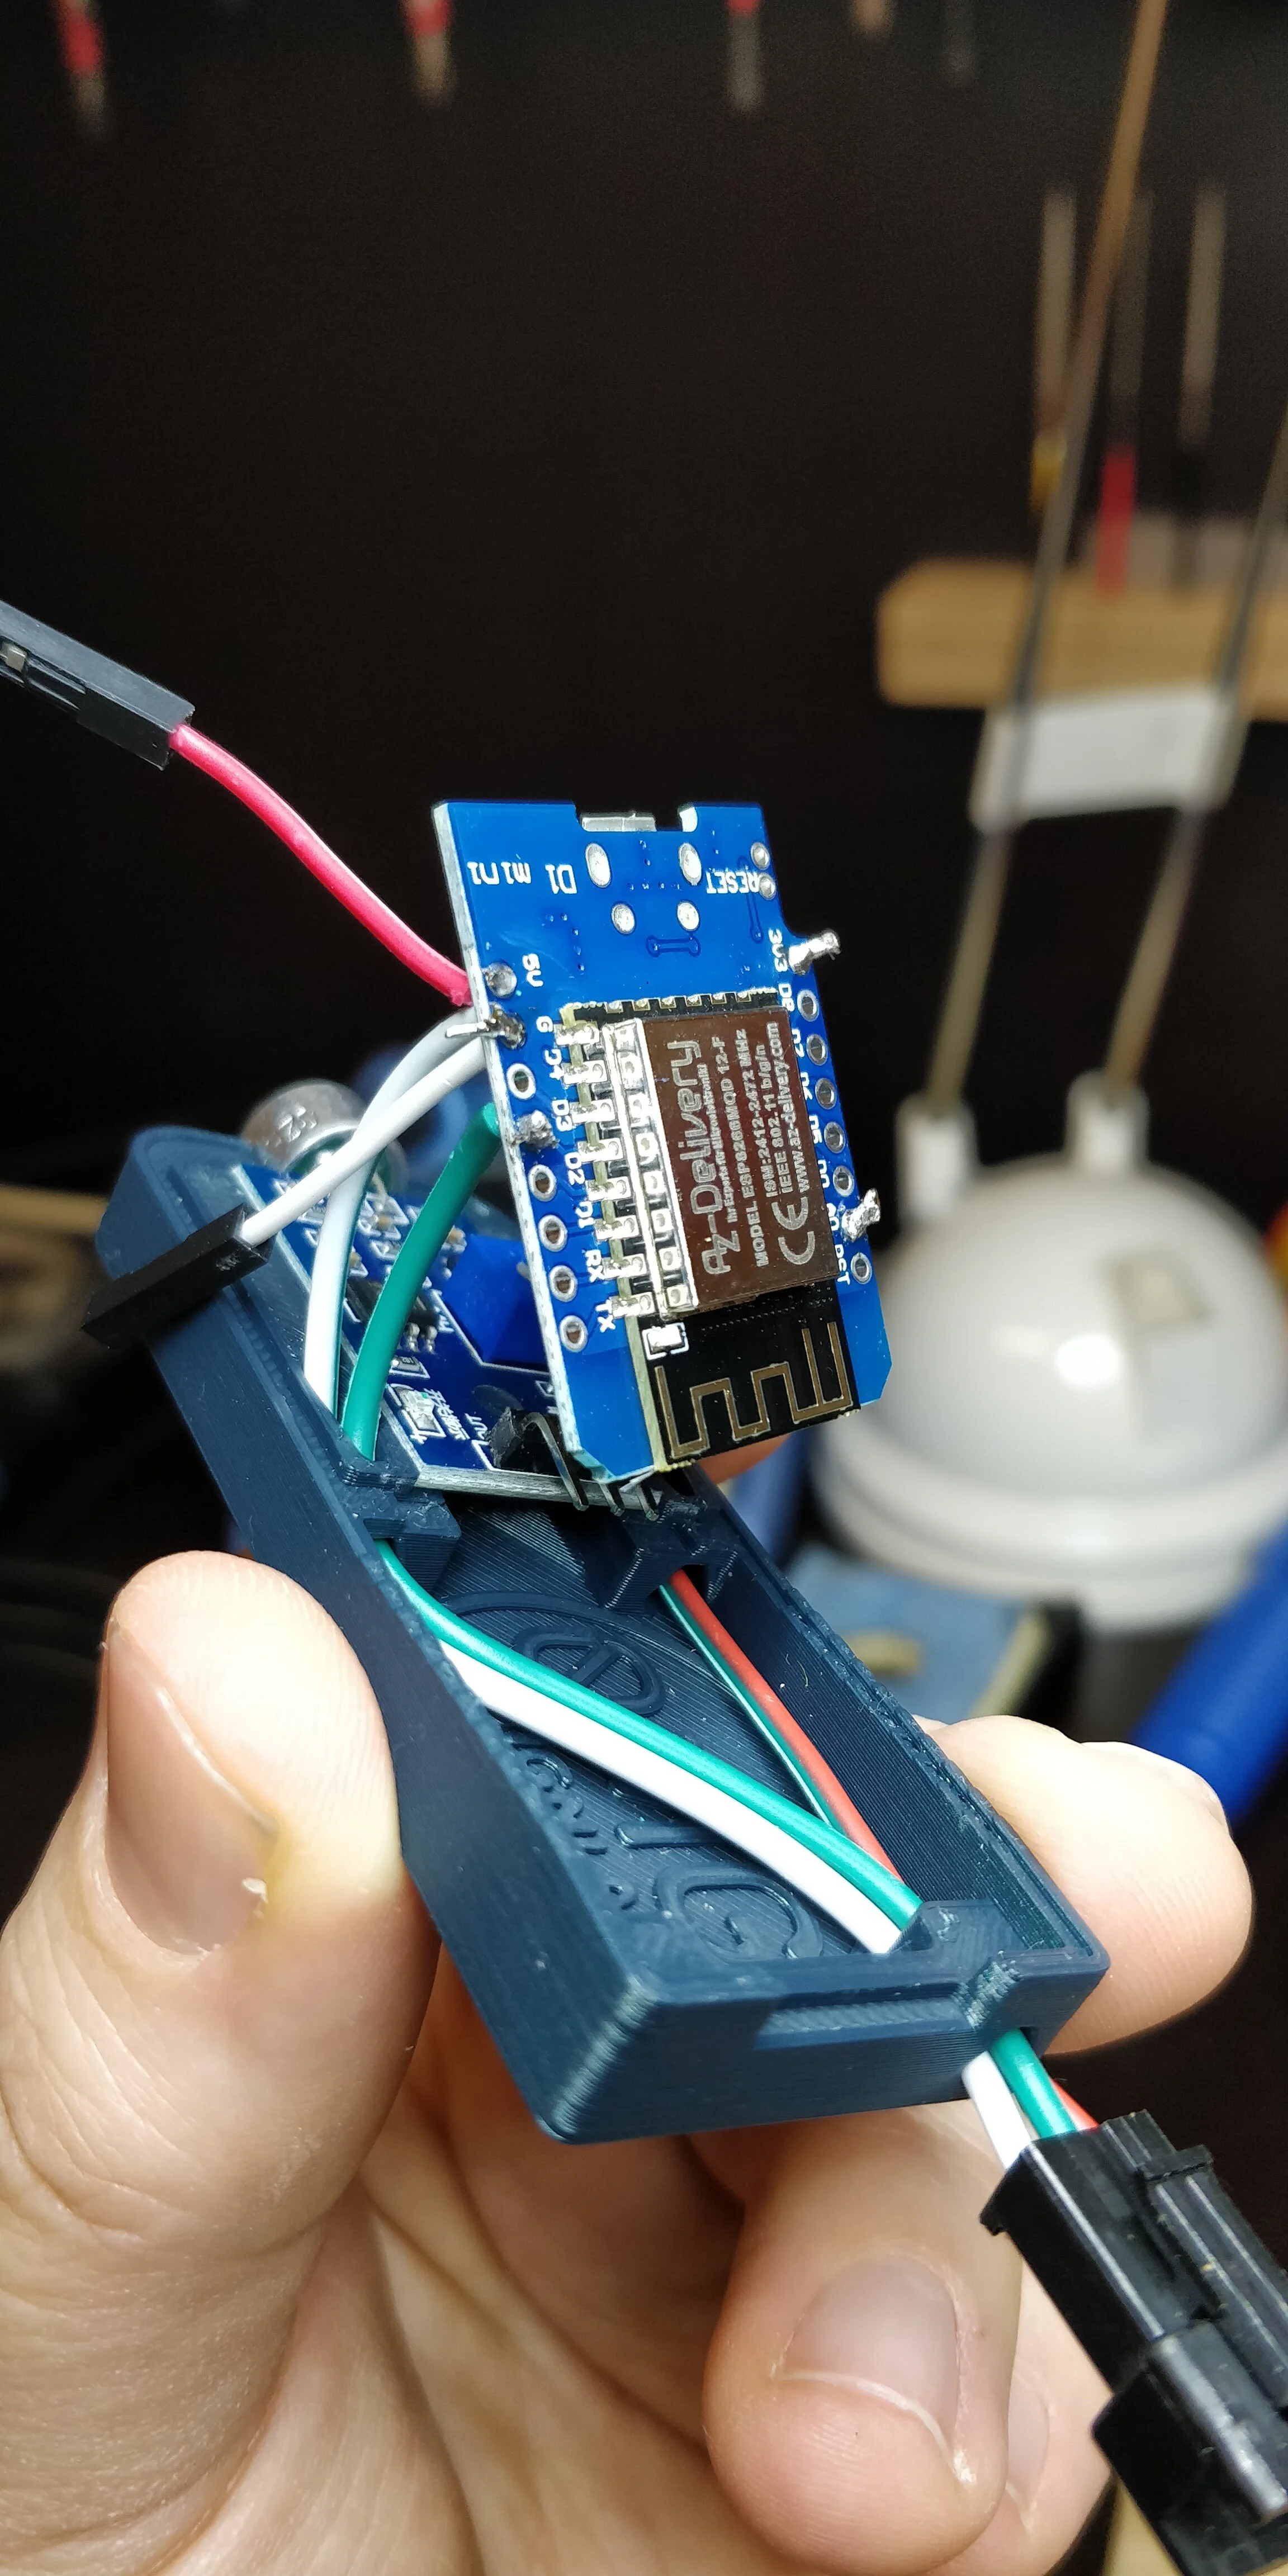
First Step - Soldering**
Soldering the individual modules including installation in the 3D-printed housing.


After the hardware is ready, let’s start with the software.
Step 02
Insall the ESP8266 module in Arduino IDE by following the instructions in the gallery underneath.
http://arduino.esp8266.com/stable/package_esp8266com_index.json


Step 03
Install the fast LED library. This library is responsible for different color animations like RainbowColors_p; or LavaColors_p;
You can download the *.zip file on github - Download Link.
To add the library choose Sketch -> Include Library -> Add .ZIP Library/…

Step 04
Include the code and customize the LED strip.
With the instruction in the /////// you can customize the ammount of LEDs, the speed and colour scheme of the strip.
#include <FastLED.h>
#include "arduinoFFT.h"
#define LED_PIN 3 /////////////////////////////////////////////////////////////// //CHOOSE THE NUMBER OF LEDS DEPENDING ON THE LED STRIPE U USE// //If YOU SHORTEN THE STRIP - ADJUST THE NEW NUMBER // /////////////////////////////////////////////////////////////// #define NUM_LEDS 60 #define BRIGHTNESS 64 #define LED_TYPE WS2811 #define COLOR_ORDER GRB CRGB leds[NUM_LEDS];#define NUM_SAMPLES 256 #define UPDATES_PER_SECOND 100arduinoFFT FFT = arduinoFFT();double real[NUM_SAMPLES]; double imag[NUM_SAMPLES]; uint16_t i = 0;uint32_t us_last = 0;CRGBPalette16 currentPalette; TBlendType currentBlending;void setup() { // put your setup code here, to run once: delay( 3000 ); // power-up safety delay FastLED.addLeds<LED_TYPE, LED_PIN, COLOR_ORDER>(leds, NUM_LEDS).setCorrection( TypicalLEDStrip ); FastLED.setBrightness( BRIGHTNESS );pinMode(A0, INPUT); Serial.begin(9600);memset(real, NUM_SAMPLES, 0); memset(imag, NUM_SAMPLES, 0);//////////////////////////////////////////////////////////////// //CHOOSE BETWEEN DIFFERENT ANIMATIONS UNDER >currentPalette = // // RainbowColors_p; // // RainbowStripeColors_p; // // CloudColors_p; // // OceanColors_p; // // LavaColors_p; // // ForestColors_p; // // PartyColors_p; // // myRedWhiteBluePalette_p; // ////////////////////////////////////////////////////////////////currentPalette = RainbowColors_p; currentBlending = LINEARBLEND;}void loop() { // put your main code here, to run repeatedly://samples aufnehmen if (micros() - us_last >= 100) { us_last = micros(); real[i] = static_cast<double>(analogRead(A0)); imag[i] = 0; i++; }//wenn genug samples gesammelt wurden if (i == NUM_SAMPLES) { i = 0;//FFT auf das array FFT.Windowing(real, NUM_SAMPLES, FFT_WIN_TYP_HAMMING, FFT_FORWARD); FFT.Compute(real, imag, NUM_SAMPLES, FFT_FORWARD); FFT.ComplexToMagnitude(real, imag, NUM_SAMPLES);//256 samples, davon die ersten 128 nutzbar //sample 0 nicht benutzen (=DC) //60 leds = 2x 30 LEDS // --> samples 4 - 123 (=120 samples) / 30 = 4 samples / LED double led_values[30]; for (uint8_t j = 0; j < 30; j++) { led_values[j] = 0.0; for (uint8_t k = 0; k < 4; k++) led_values[j] += real[j * 4 + k + 4]; }/////////////////////////////////////////////////////////////////////////////////////////////////////////////////////////// //THE NUMBER AFTER MILLIS IS RESPONSIBLE FOR THE SPEED OF THE ANIMATION - THE HIGHER THE NUMBER, THE SLOWER THE ANIMATION// /////////////////////////////////////////////////////////////////////////////////////////////////////////////////////////// uint8_t start_index = static_cast<uint8_t>((millis() / 40) & 0xFF);//skalieren auf 0...255 und rausschreiben an die leds for (uint8_t j = 0; j < 30; j++) { led_values[j] = led_values[j] / 4095.0 * 255.0;//////////////////////////////////////////////////////////////////////////////////////////////////////// //AFTER, j * >CHOOSE A NUMBER BETWEEN 1-10< THE HIGHER THE NUMBER, THE MORE YOU CAN SEE OF THE RAINBOW// /////////////////////////////////////////////////////////////////////////////////////////////////////////////////// //ADAPT THE NUMBER OF LEDS TO THE TOTAL NUMBER OF LEDS - IF 60 LEDS, YOU HAVE TO USE >leds[30 + j] and [29 - j]< // /////////////////////////////////////////////////////////////////////////////////////////////////////////////////// //raussschreiben an die leds leds[30 + j] = ColorFromPalette( currentPalette, j * 5 + start_index, led_values[j], currentBlending); leds[29 - j] = ColorFromPalette( currentPalette, j * 5 + start_index, led_values[j], currentBlending); } for (uint8_t j = 0; j < 30; j++) { leds[30 + j] = ColorFromPalette( currentPalette, j * 5 + start_index, BRIGHTNESS, currentBlending); leds[29 - j] = ColorFromPalette( currentPalette, j * 5 + start_index, BRIGHTNESS, currentBlending); j += 1; } FastLED.show(); } }
Step 05
Upload the code to your ESP8266.
Make sure the correct usb port is selected.
You can change the port @ Tools -> Port -> COM1, COM2, Com3, …

Special thanks
goes to coding master @wergor for the support!
And @Dosi the soldering master.
Feedback
Feel free to comment below or visit us on Instagram @omg.designlab and @2rmin_com.
*The linked products are affiliated links - if you buy via these links on Amazon, we get a small commission. For you, nothing changes in the price.
**The entire project is at your own risk. We are not responsible for any damage.