2rmin Indoor Farm
Introduction
I came up with the idea, that I want to grow kitchen herbage all year. I had zero knowlege but the motivation to get things started. I wanted to have them in one room of my house (not in the basement) where I walk by every day and it should not consume much space. To accomplish that it takes several requirement to consider to simulate a confortable enviroment for the herbage. The following blog comprises my solution, the technical ideas and the lessions I learned.
So let's start with the requirements and important aspects:
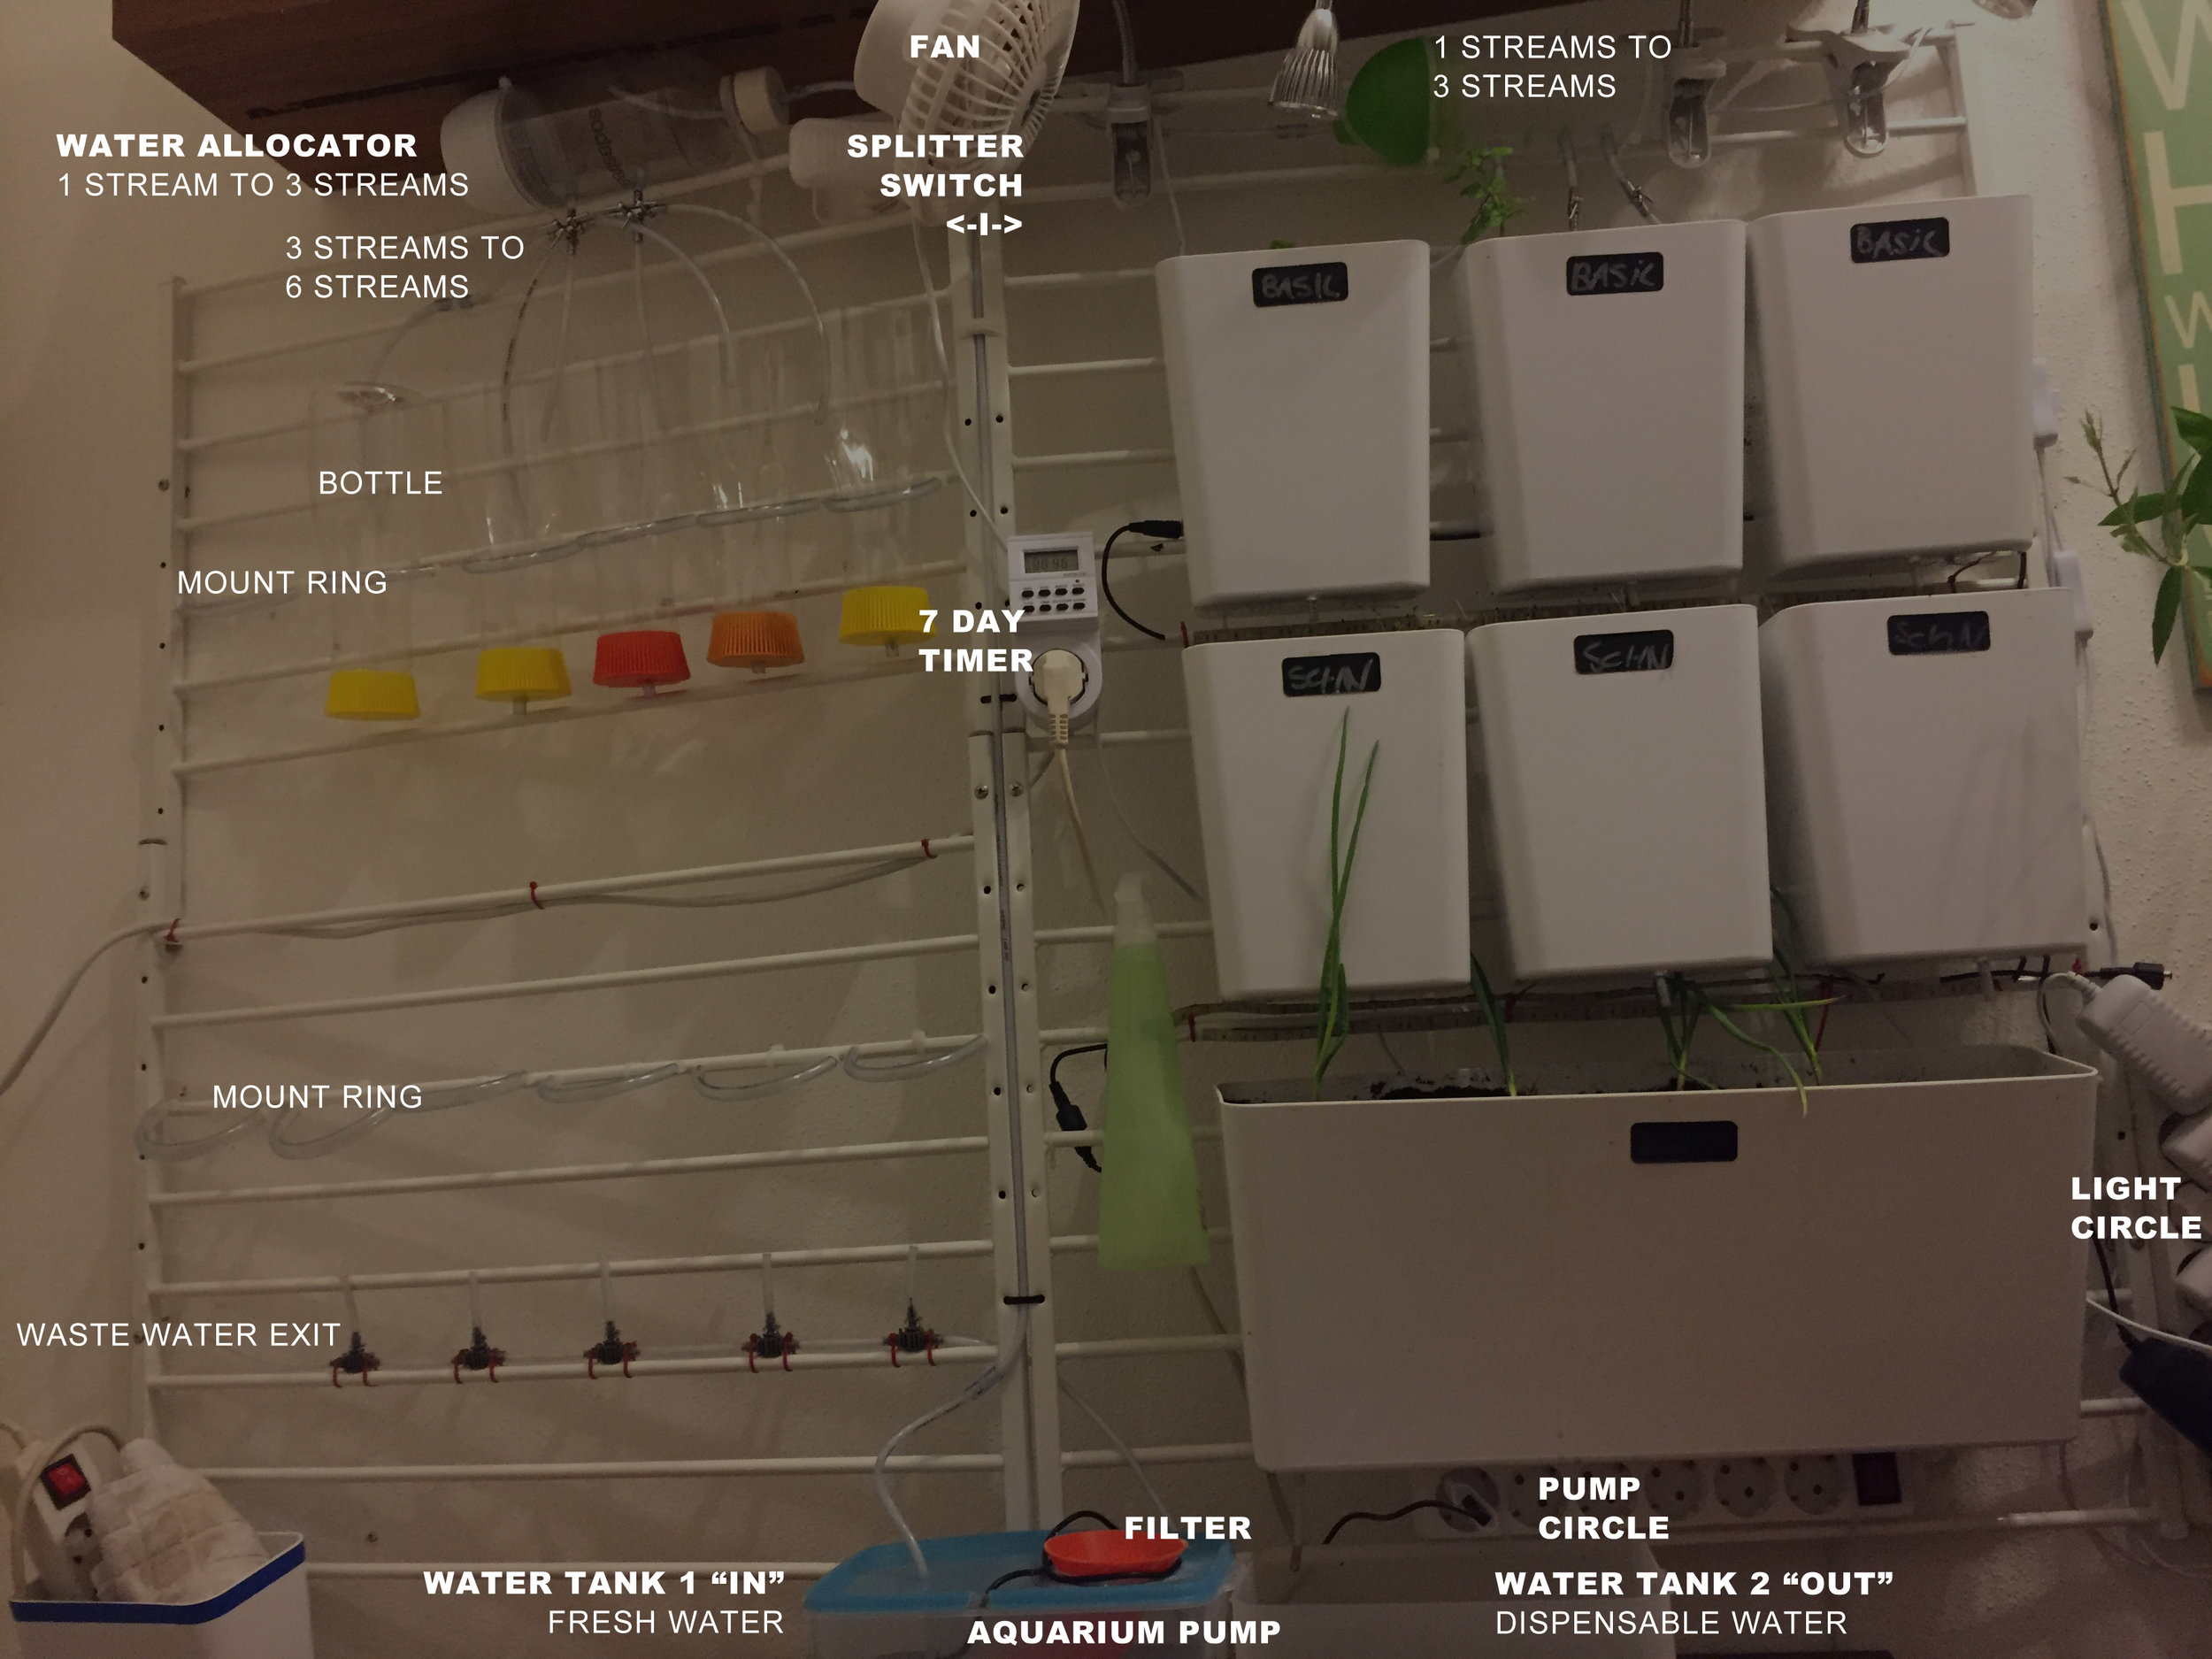
Water Supply
how to not drown the plants?
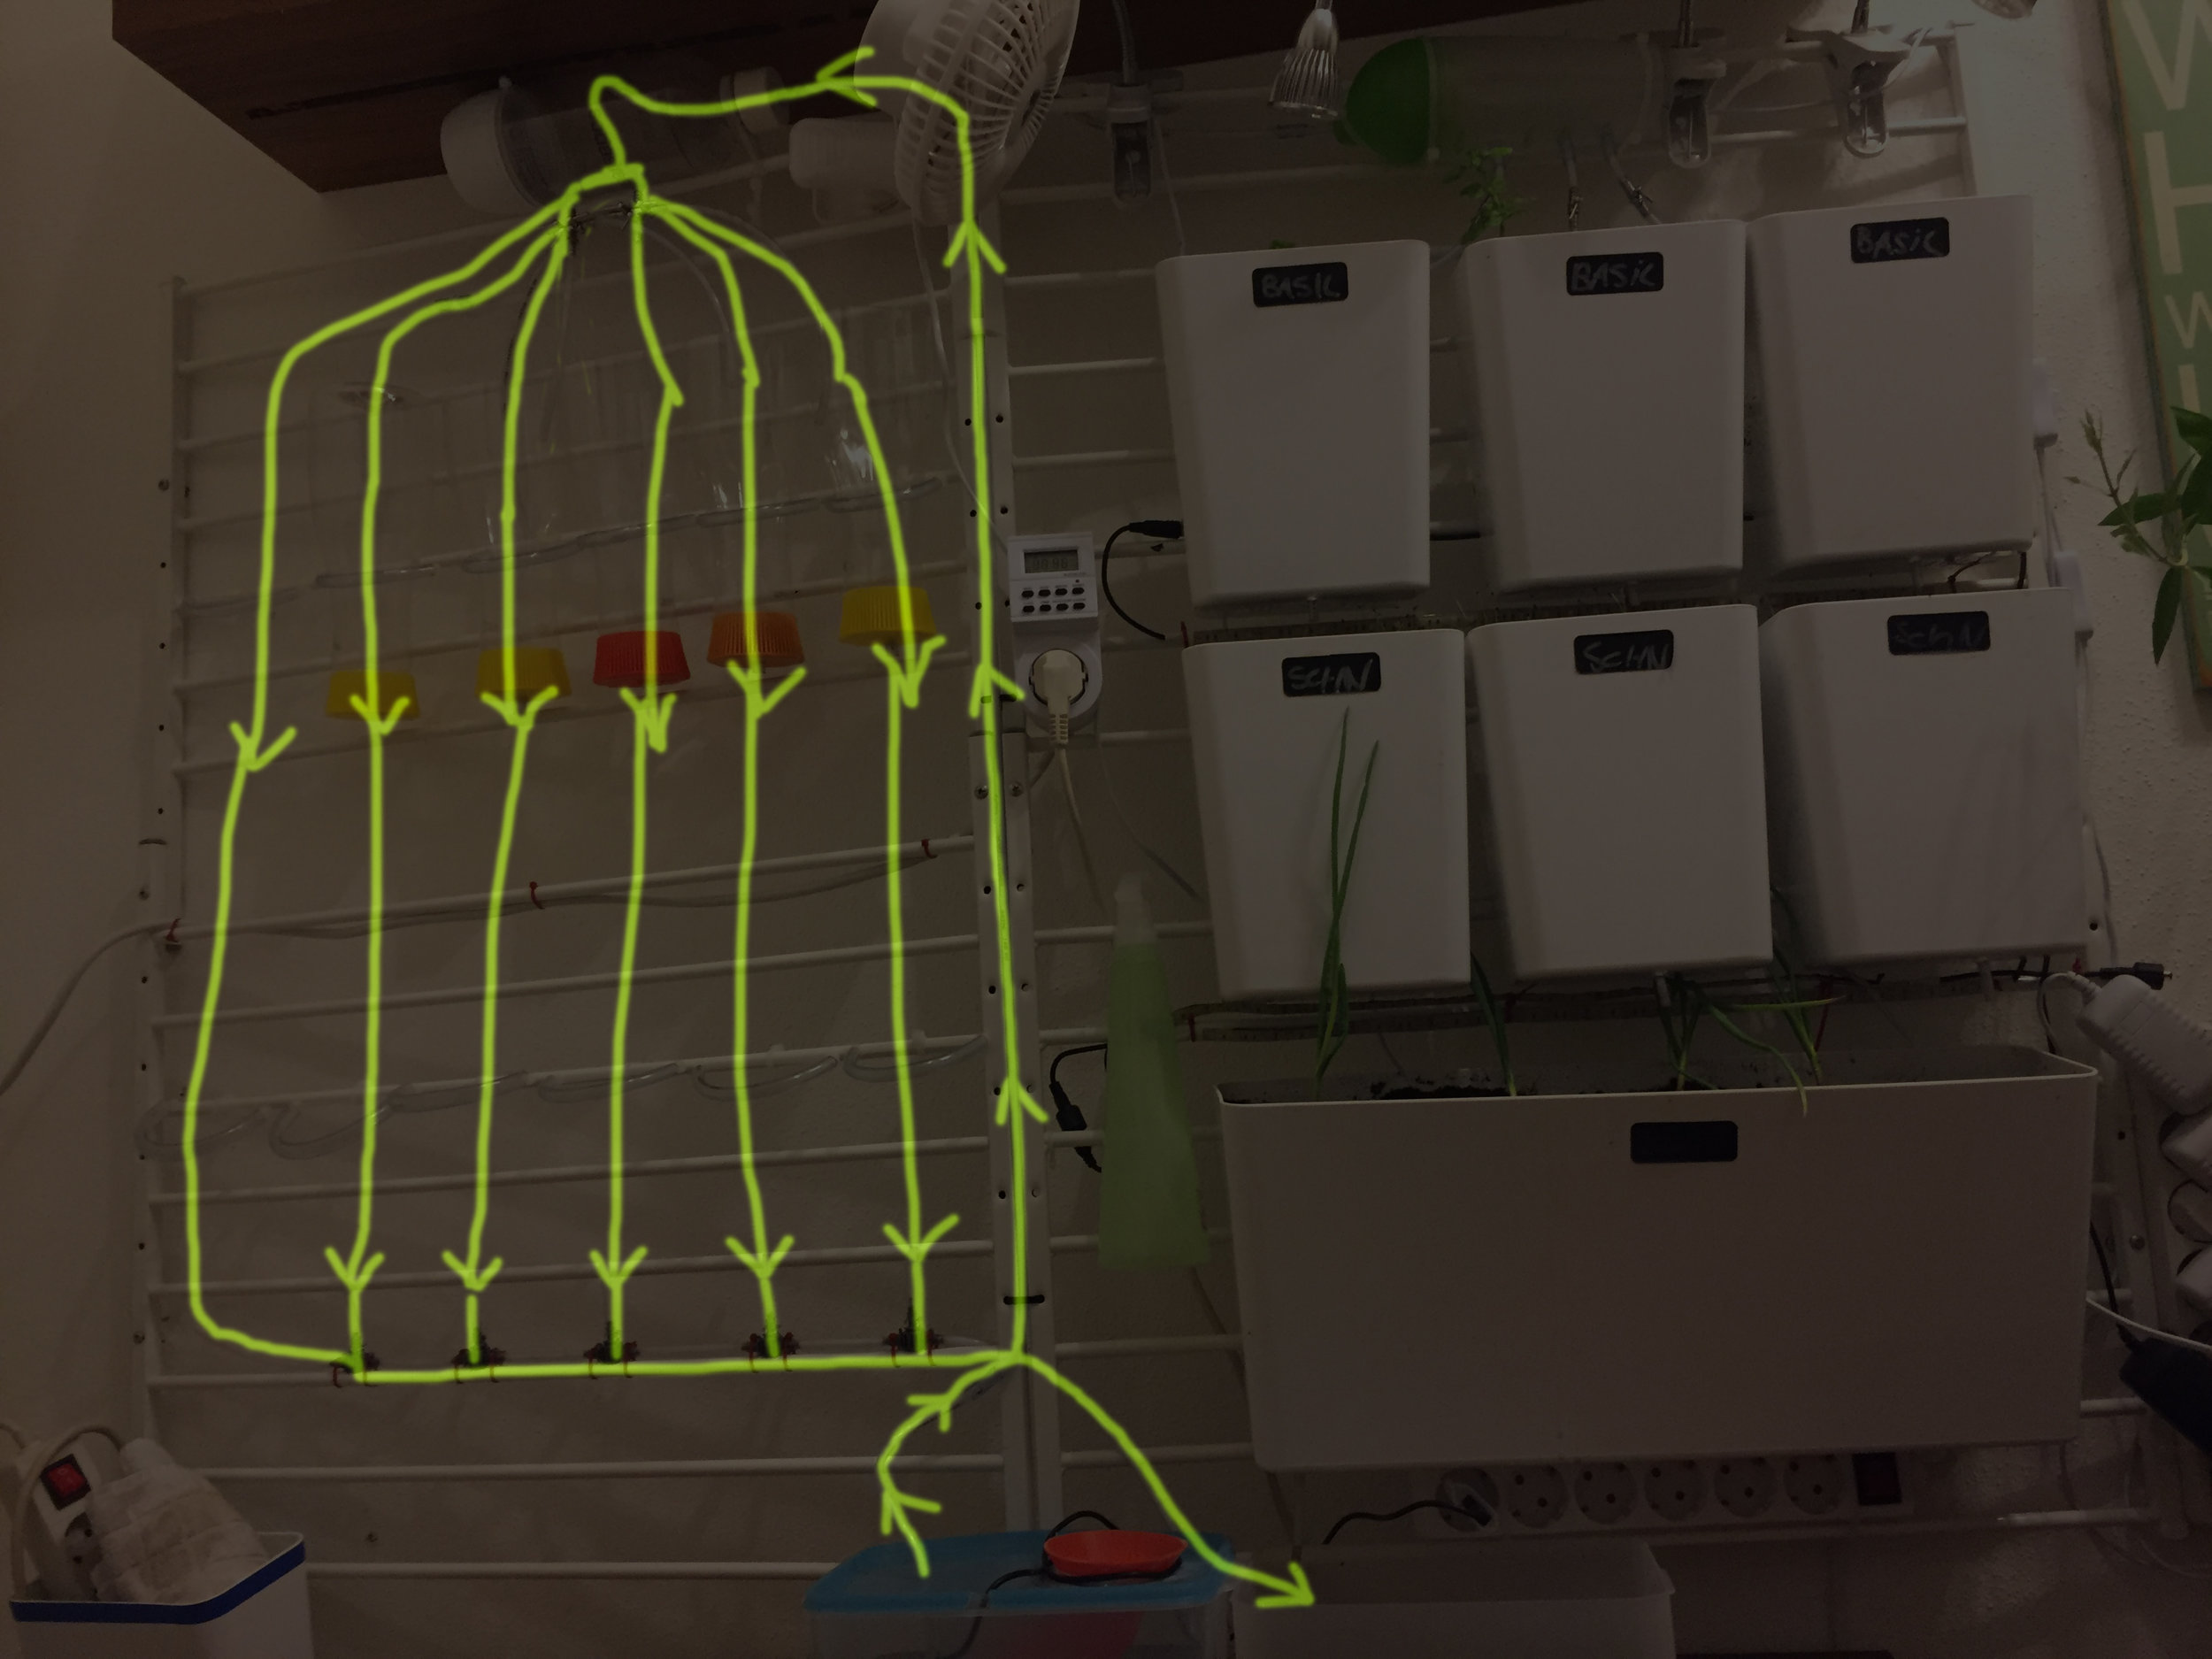
how can it be done, that I can pour all plants at once?
Air
how to ensure air stream?
how to avoid mildew?
Temperature
how to ensure a grow-friendly enviroment?
Light
how to provide enough light?
how to make them independent from daylight?
Wall Construction
how to get much out of less space?
how to ensure a flexible solution? (since I try a lot, It's important to cut out parts and install new elements
Design
how to avoid that it looks like shit?
Prototyping

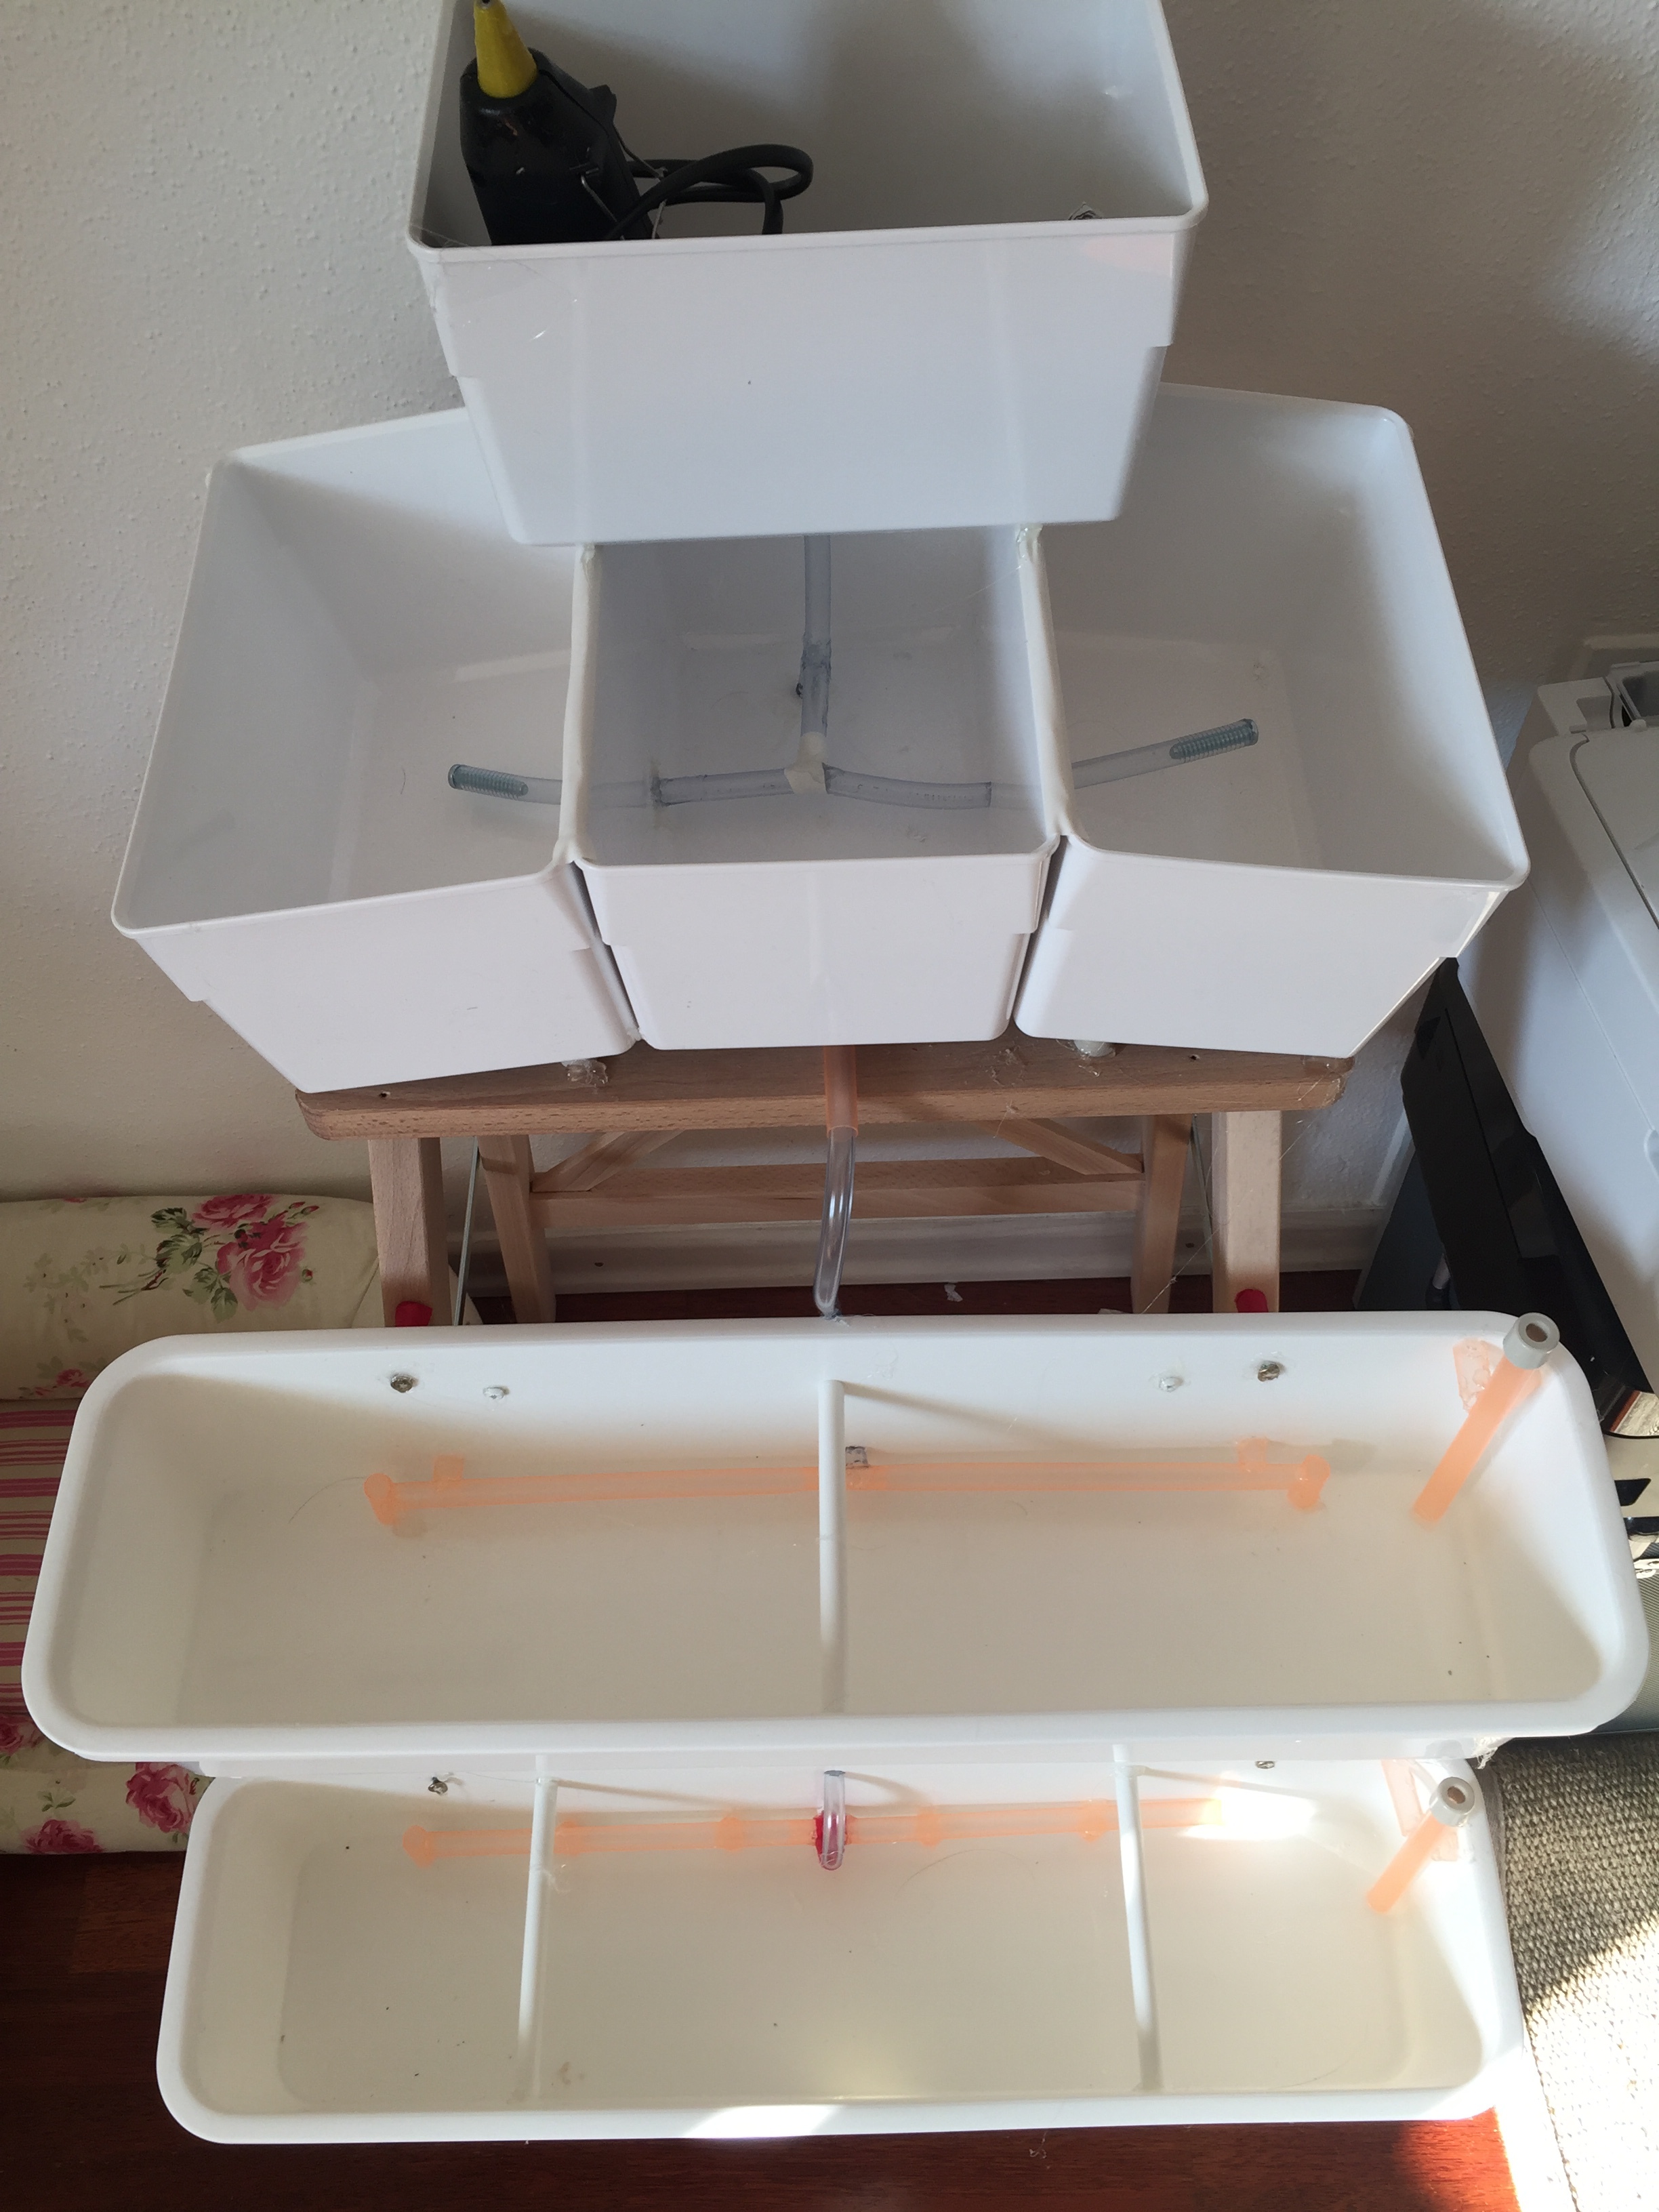
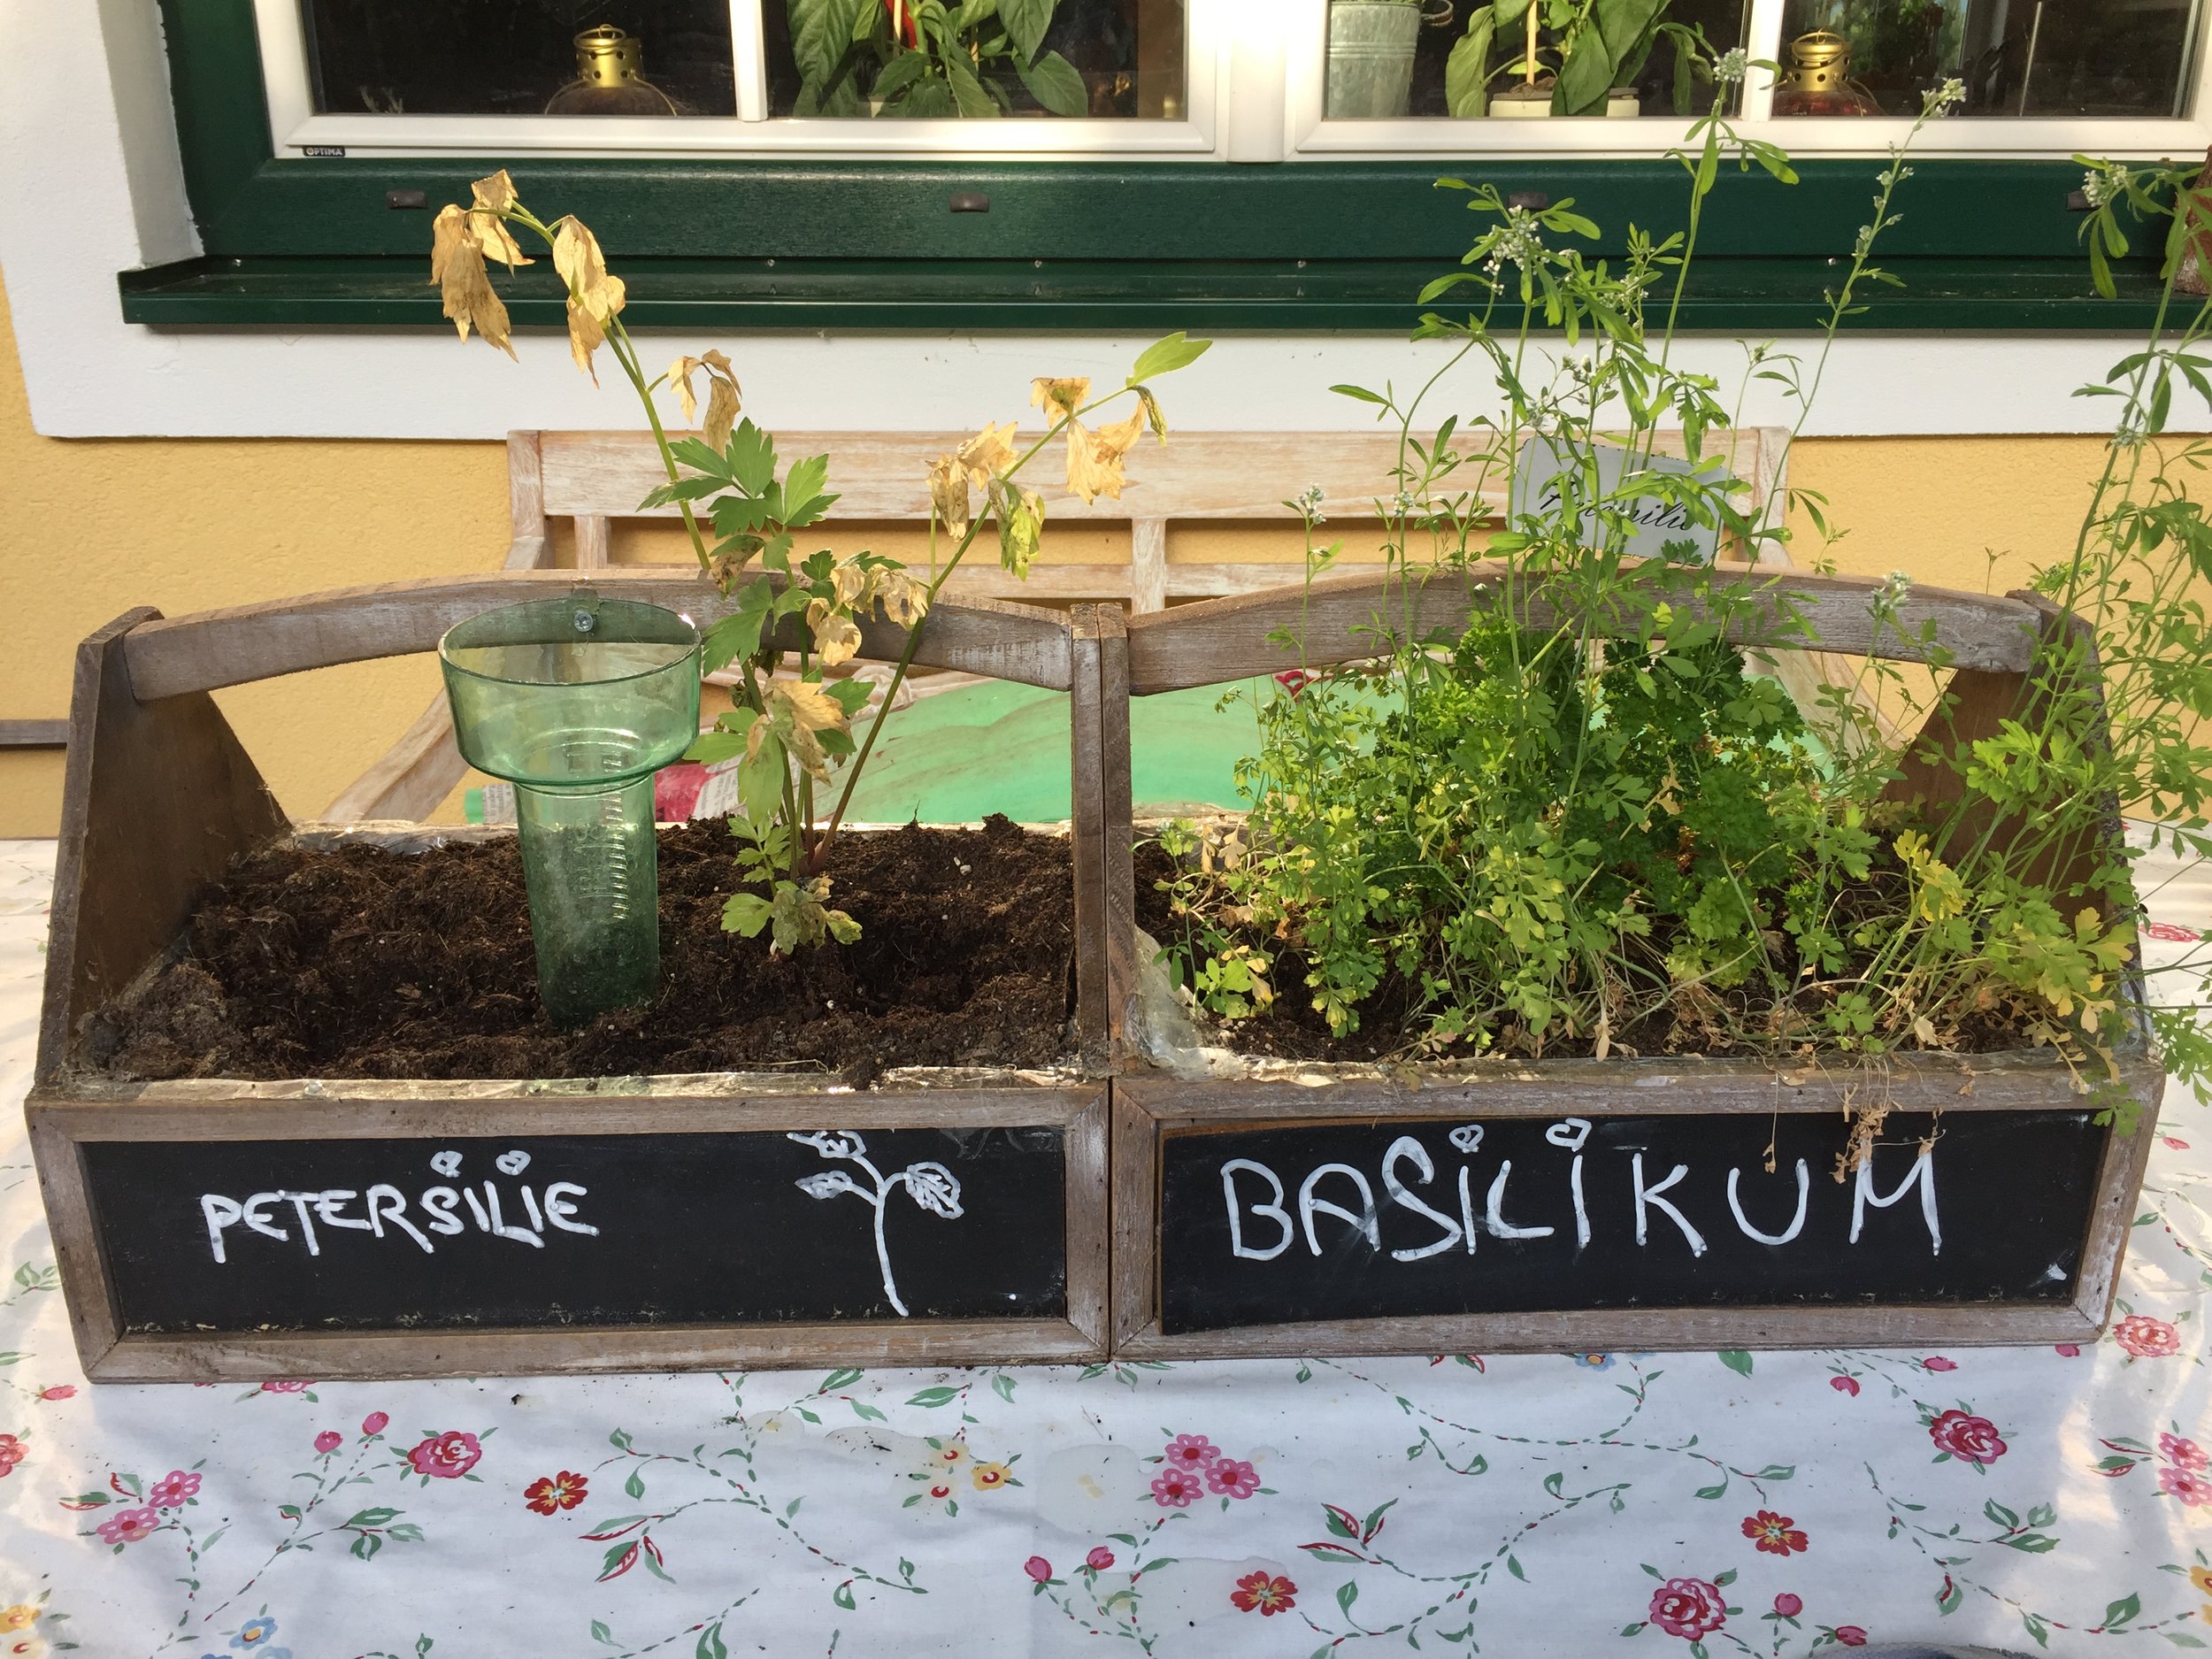
Within the first phase I tested several plastic cases and transparent tubes. I used some storage cases from IKEA and drilled them onto a mini-ladder
First major problem was to keep the system dense. I connected several cases and it's hard to glue them perfectly and water restistant.
The big question is: how to handle the water? The solution took some attempts...
EDITION 1

The gates were mounted with 4 big screws and sticked between 2 decorative wooden elemens. As I expect more than 120kg (soil, water) it good to build a strong and flexible frame-solution that leaves enough space for experiments.
On my search for cases, I found some at IKEA (normally used for kitchen lays) - and they are white - what I think is very important.

The Idea was to use Baby Grates for stairs
Easy Installment

Those cases are easy to just hang on the bars. The IKEA cases have about twice the thickness of regular flower cases and can carry the weight.
In the next step I installed the 4mm tubes with cable connector (you need a lot).
I got myself a aquarium-pump because I wanted the water introduction not to be in a height that I can't access without a chair or small ladder.
First Light Concept (NOT GOOD )


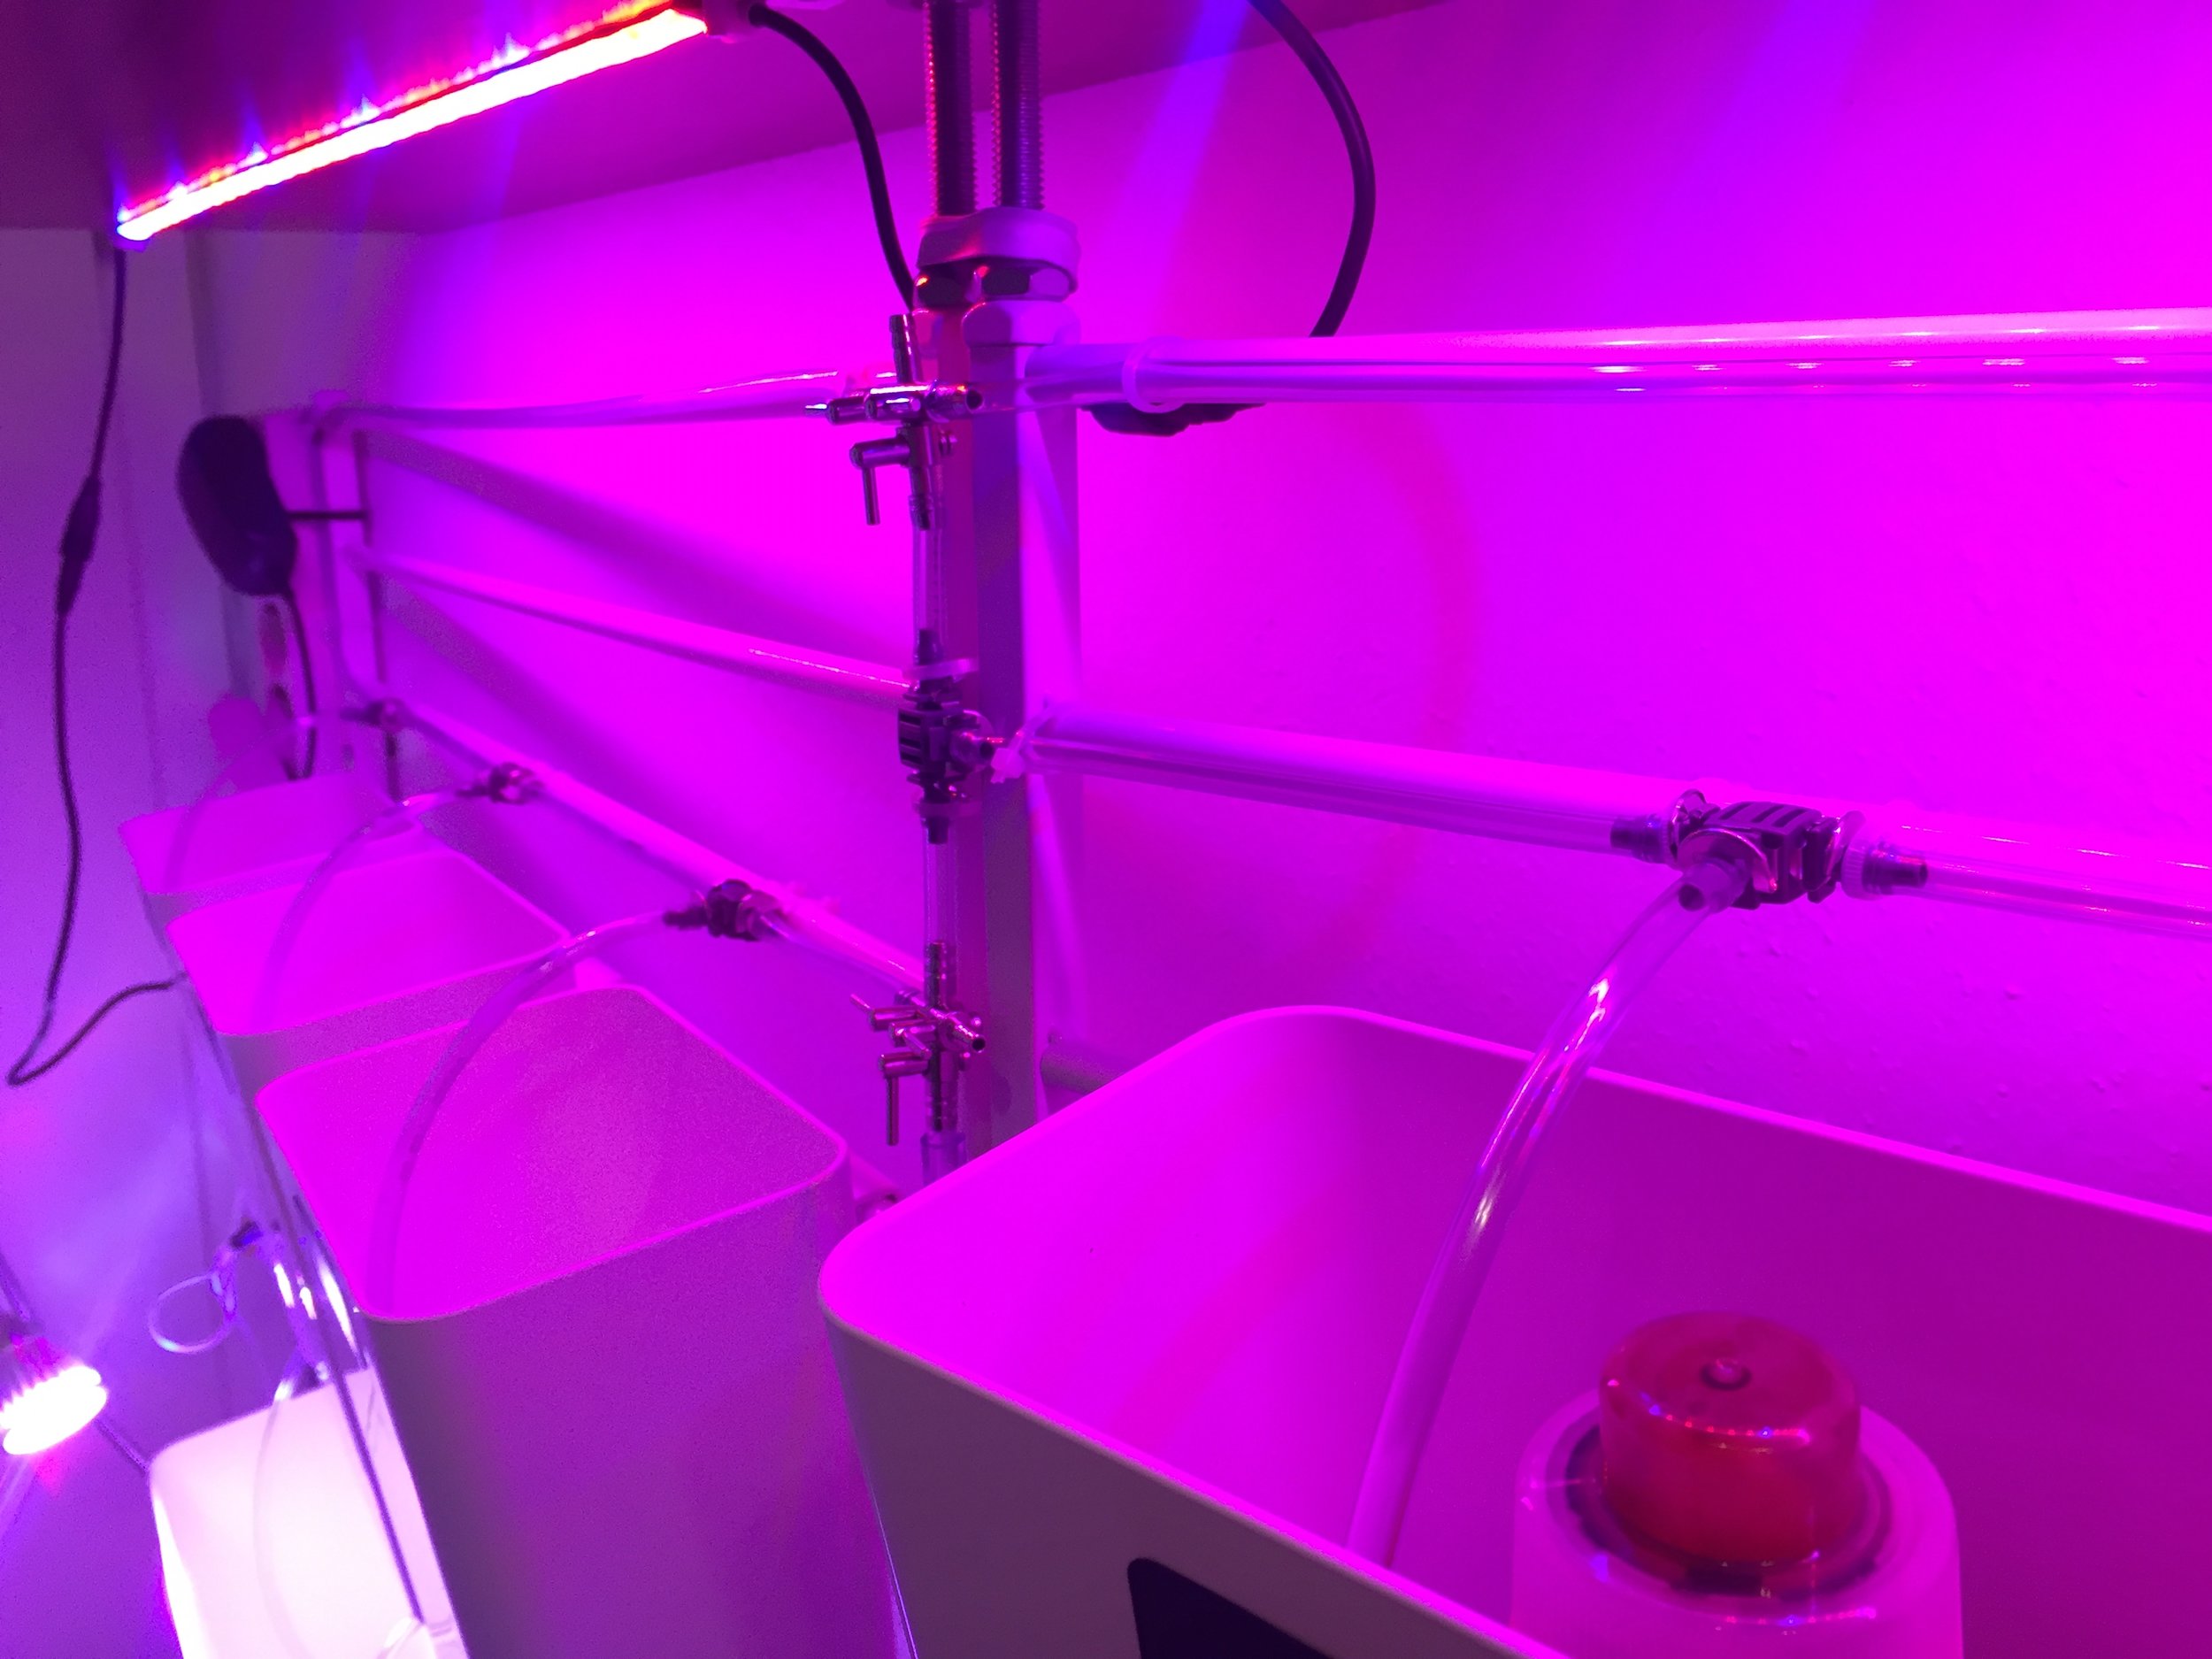


I orded several plant lights, but found out that they make a crappy light that reminded me of roxanne (best regards to Sting) and the intensity is also not enough...
Components


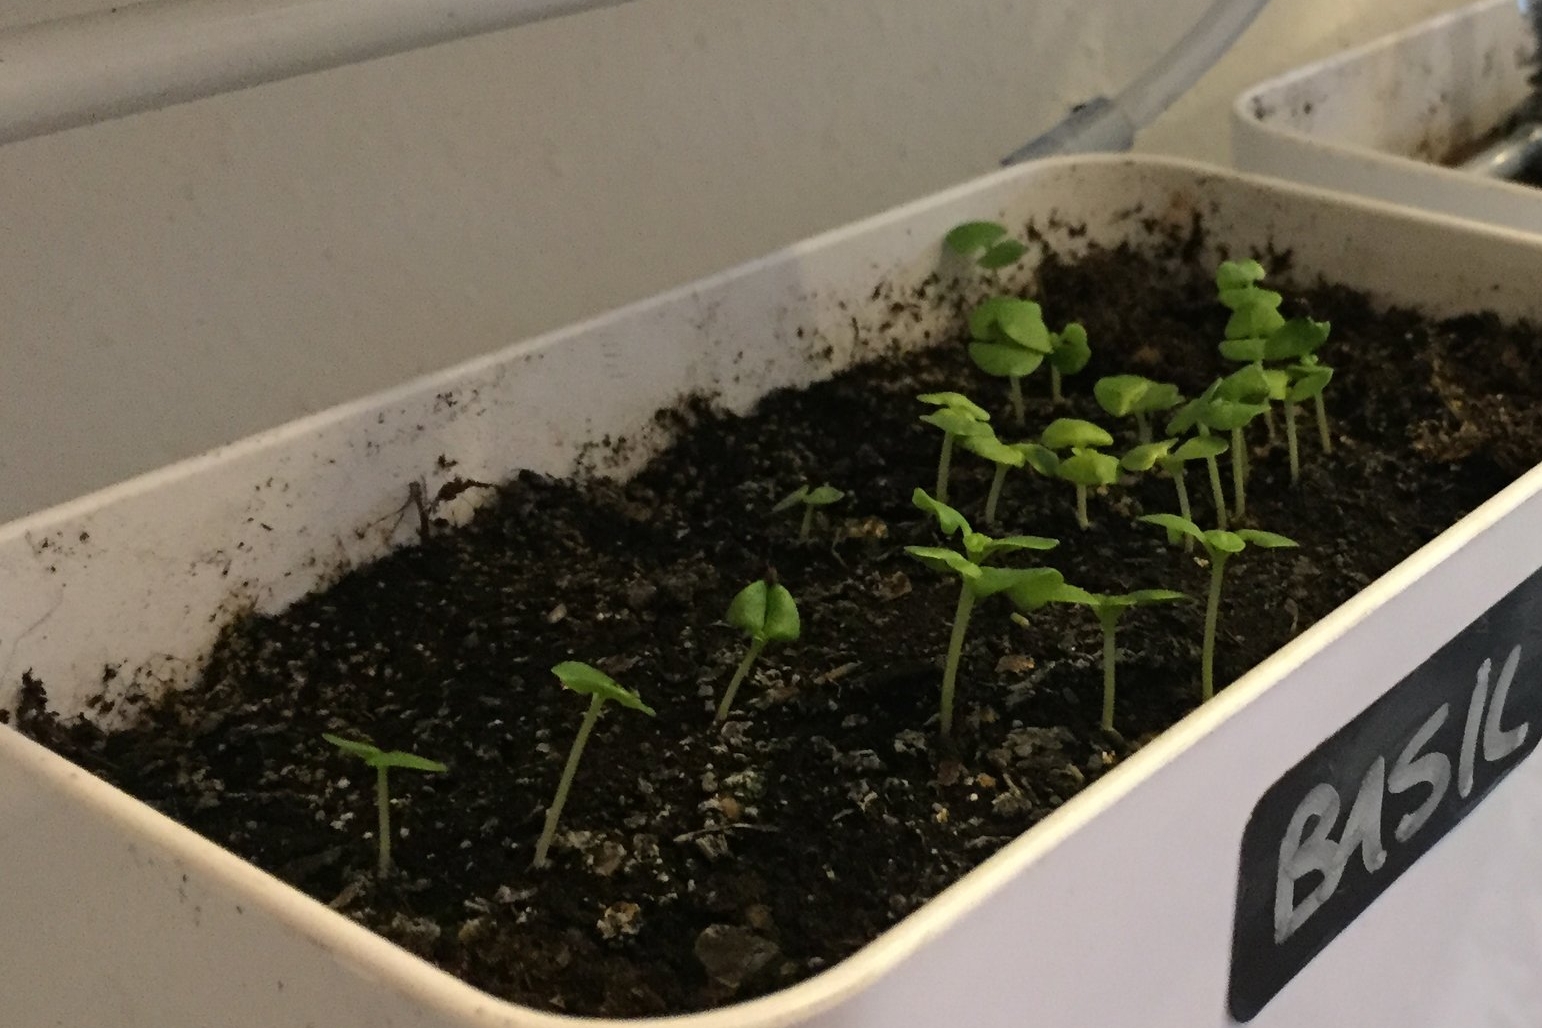
Progress after 7 Days


Direct Compare

First Summary
PROS
⊕ Easy Plug & Play Solution
⊕ IKEA Cases are strong and good quality
CONS
⊖ Light is not enough
⊖ light is agressive to the eye
⊖ bringing the same amount of water to every case wasn't possible
⊖ the excessed water doesn't leave the case
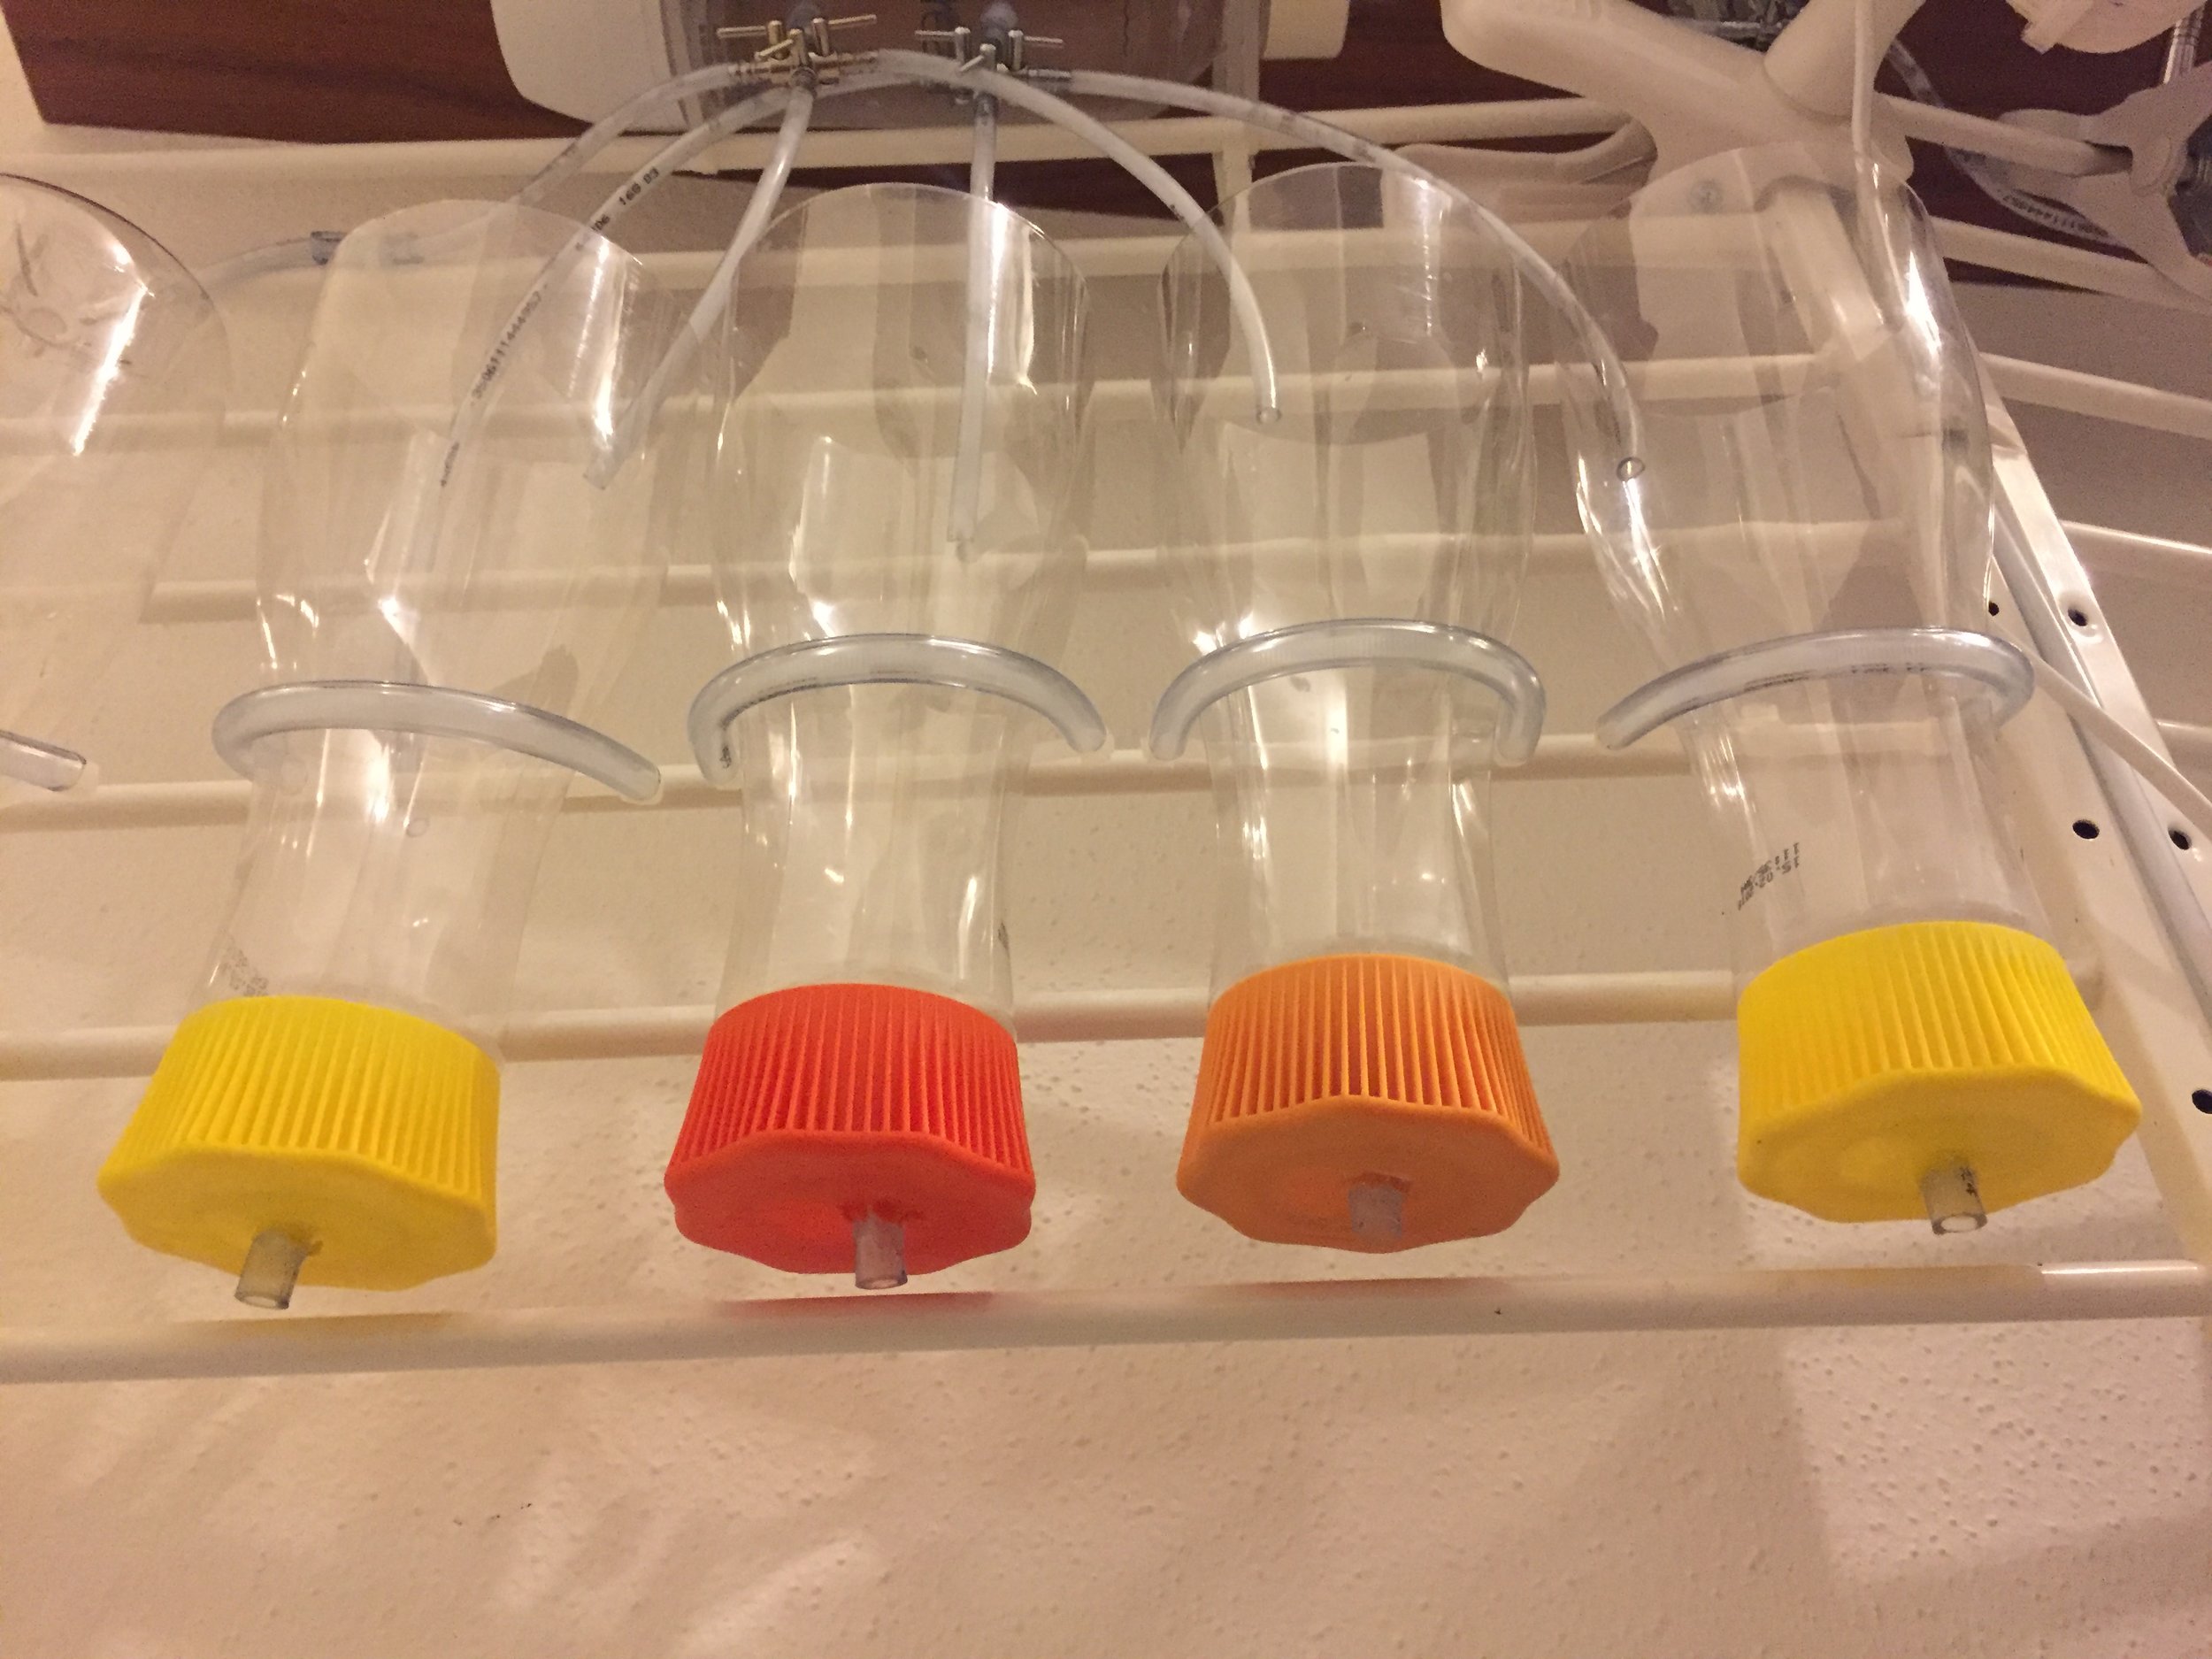
EXTENSION + LIGHT IMPROVEMENT

I tried another solution:
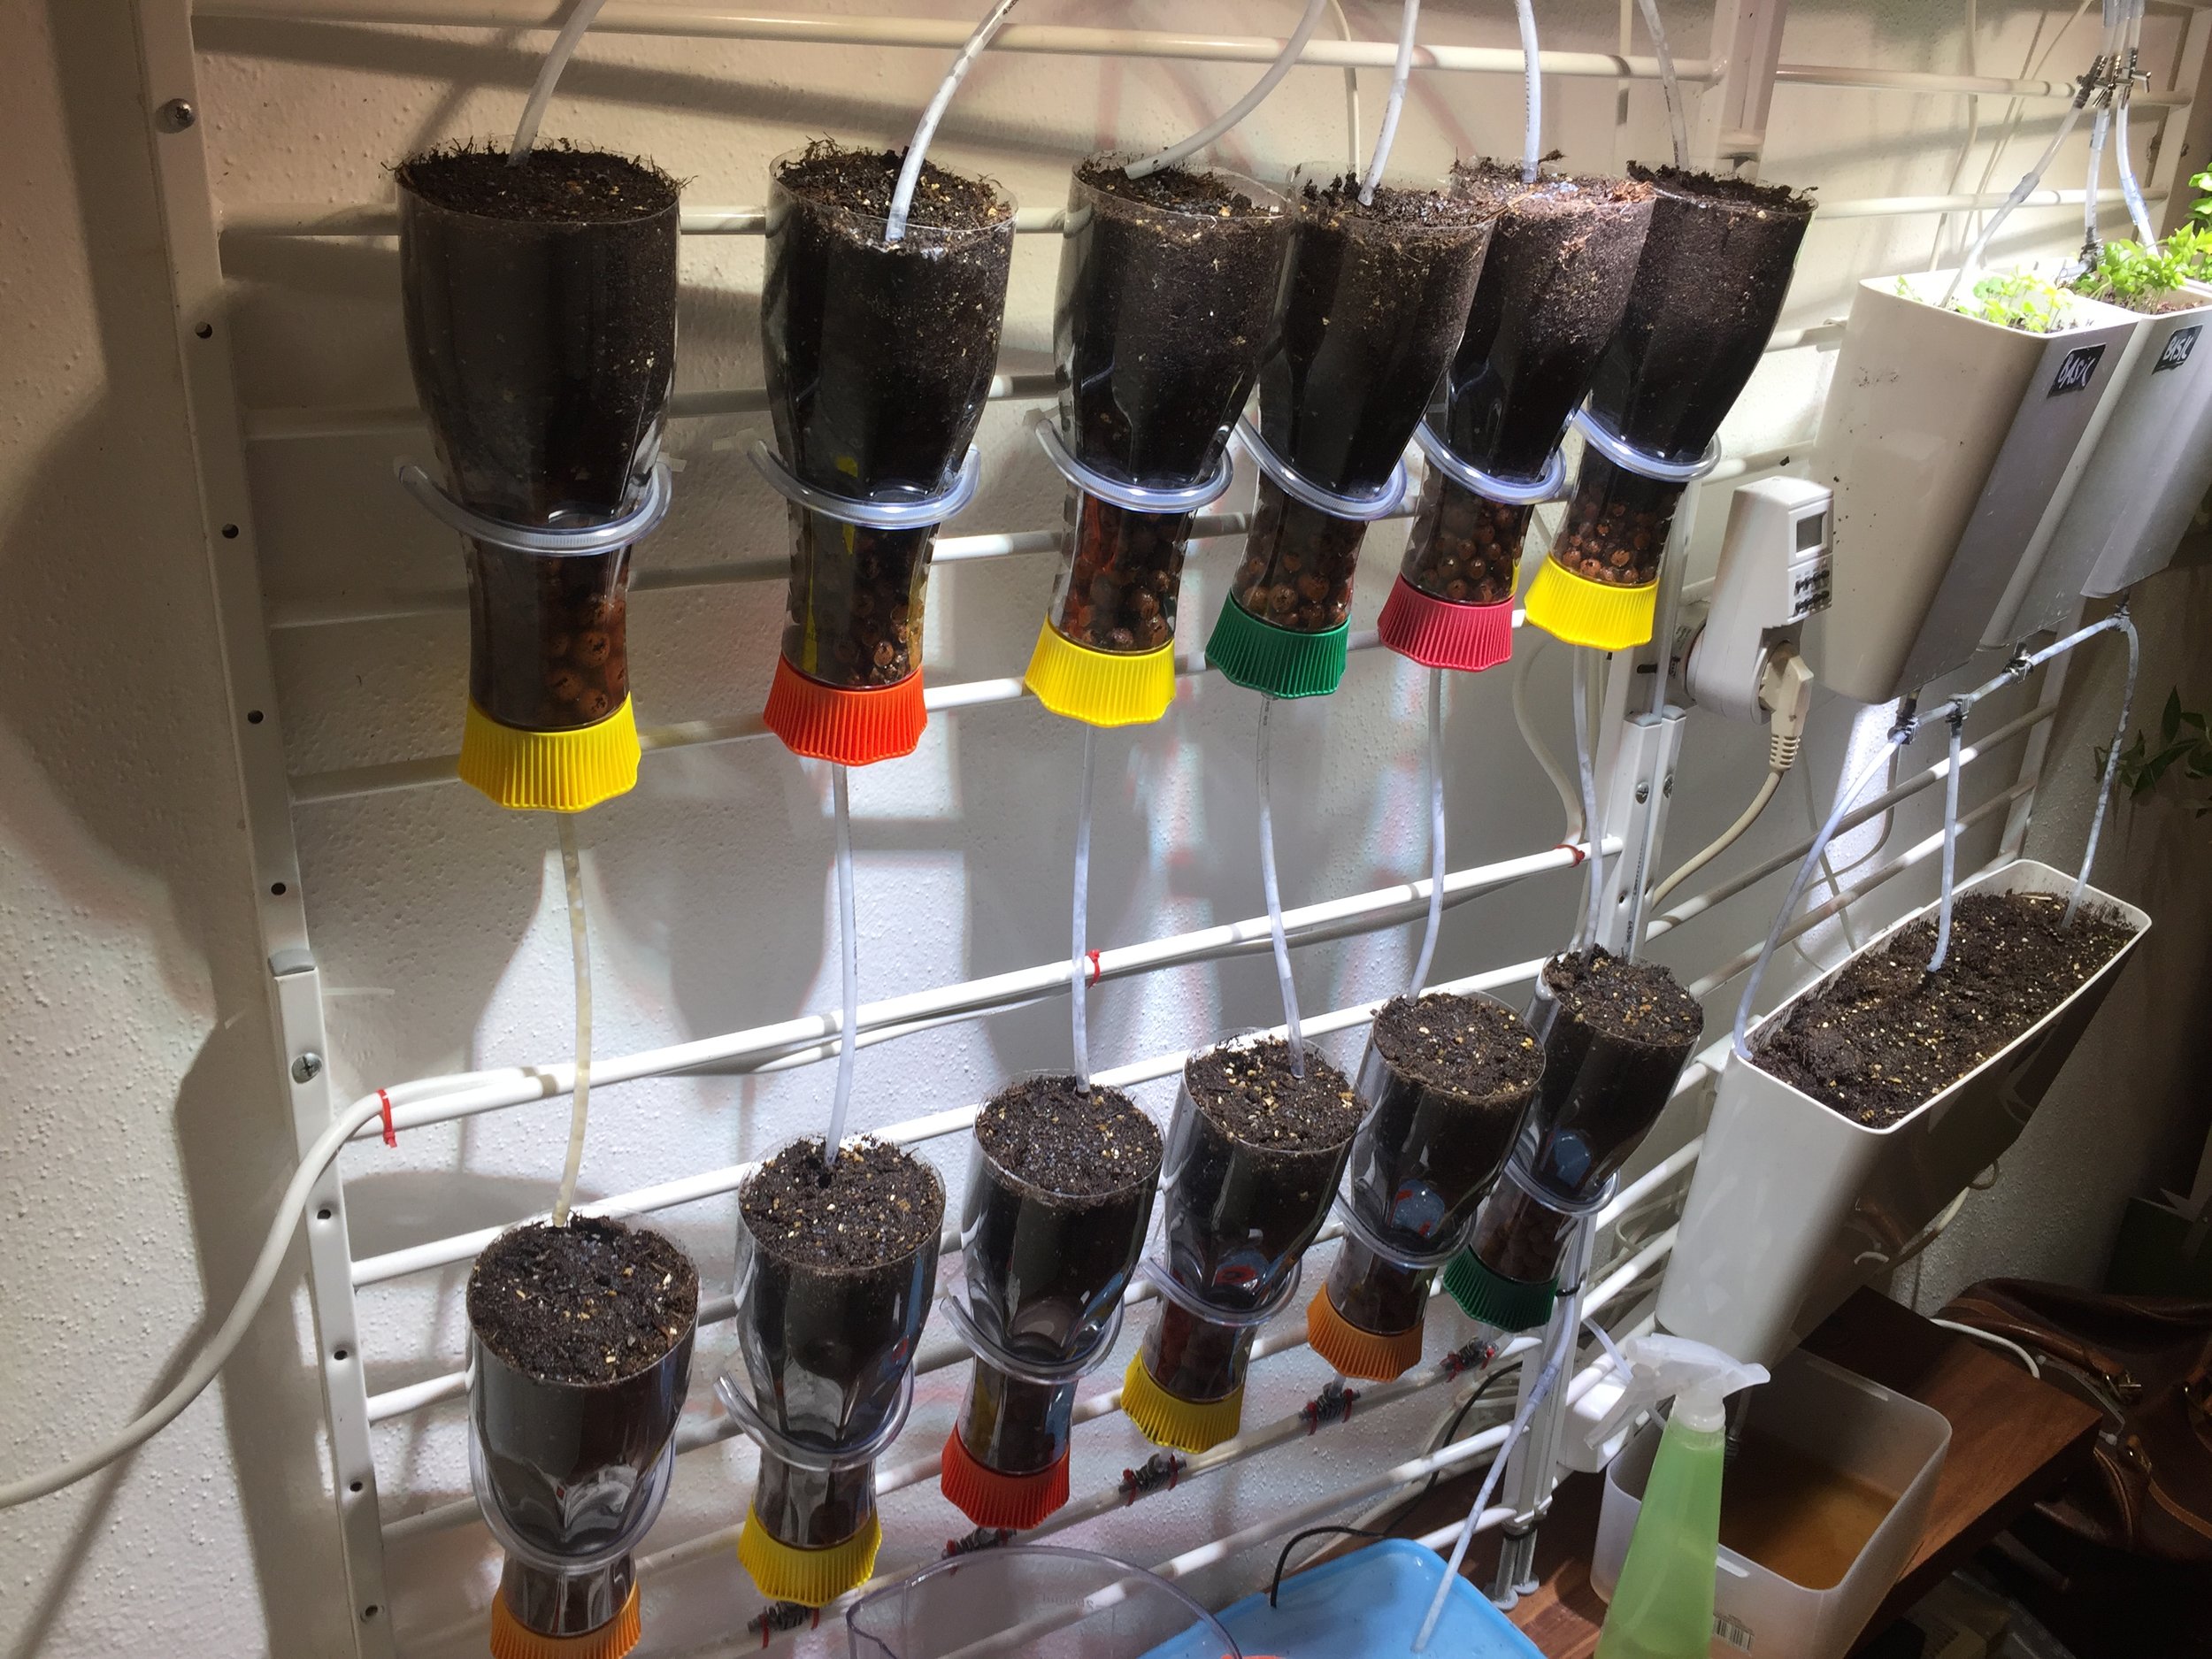
based on regular juice bottles I cut off the bottom and drilled a 6mm hole into the cap.
12 Bottles
With this solution, all the water that isn't consumed by the plant gets through to the next bottle below and flows to the water outlet tank.

used bottles

IKEA plant bulb


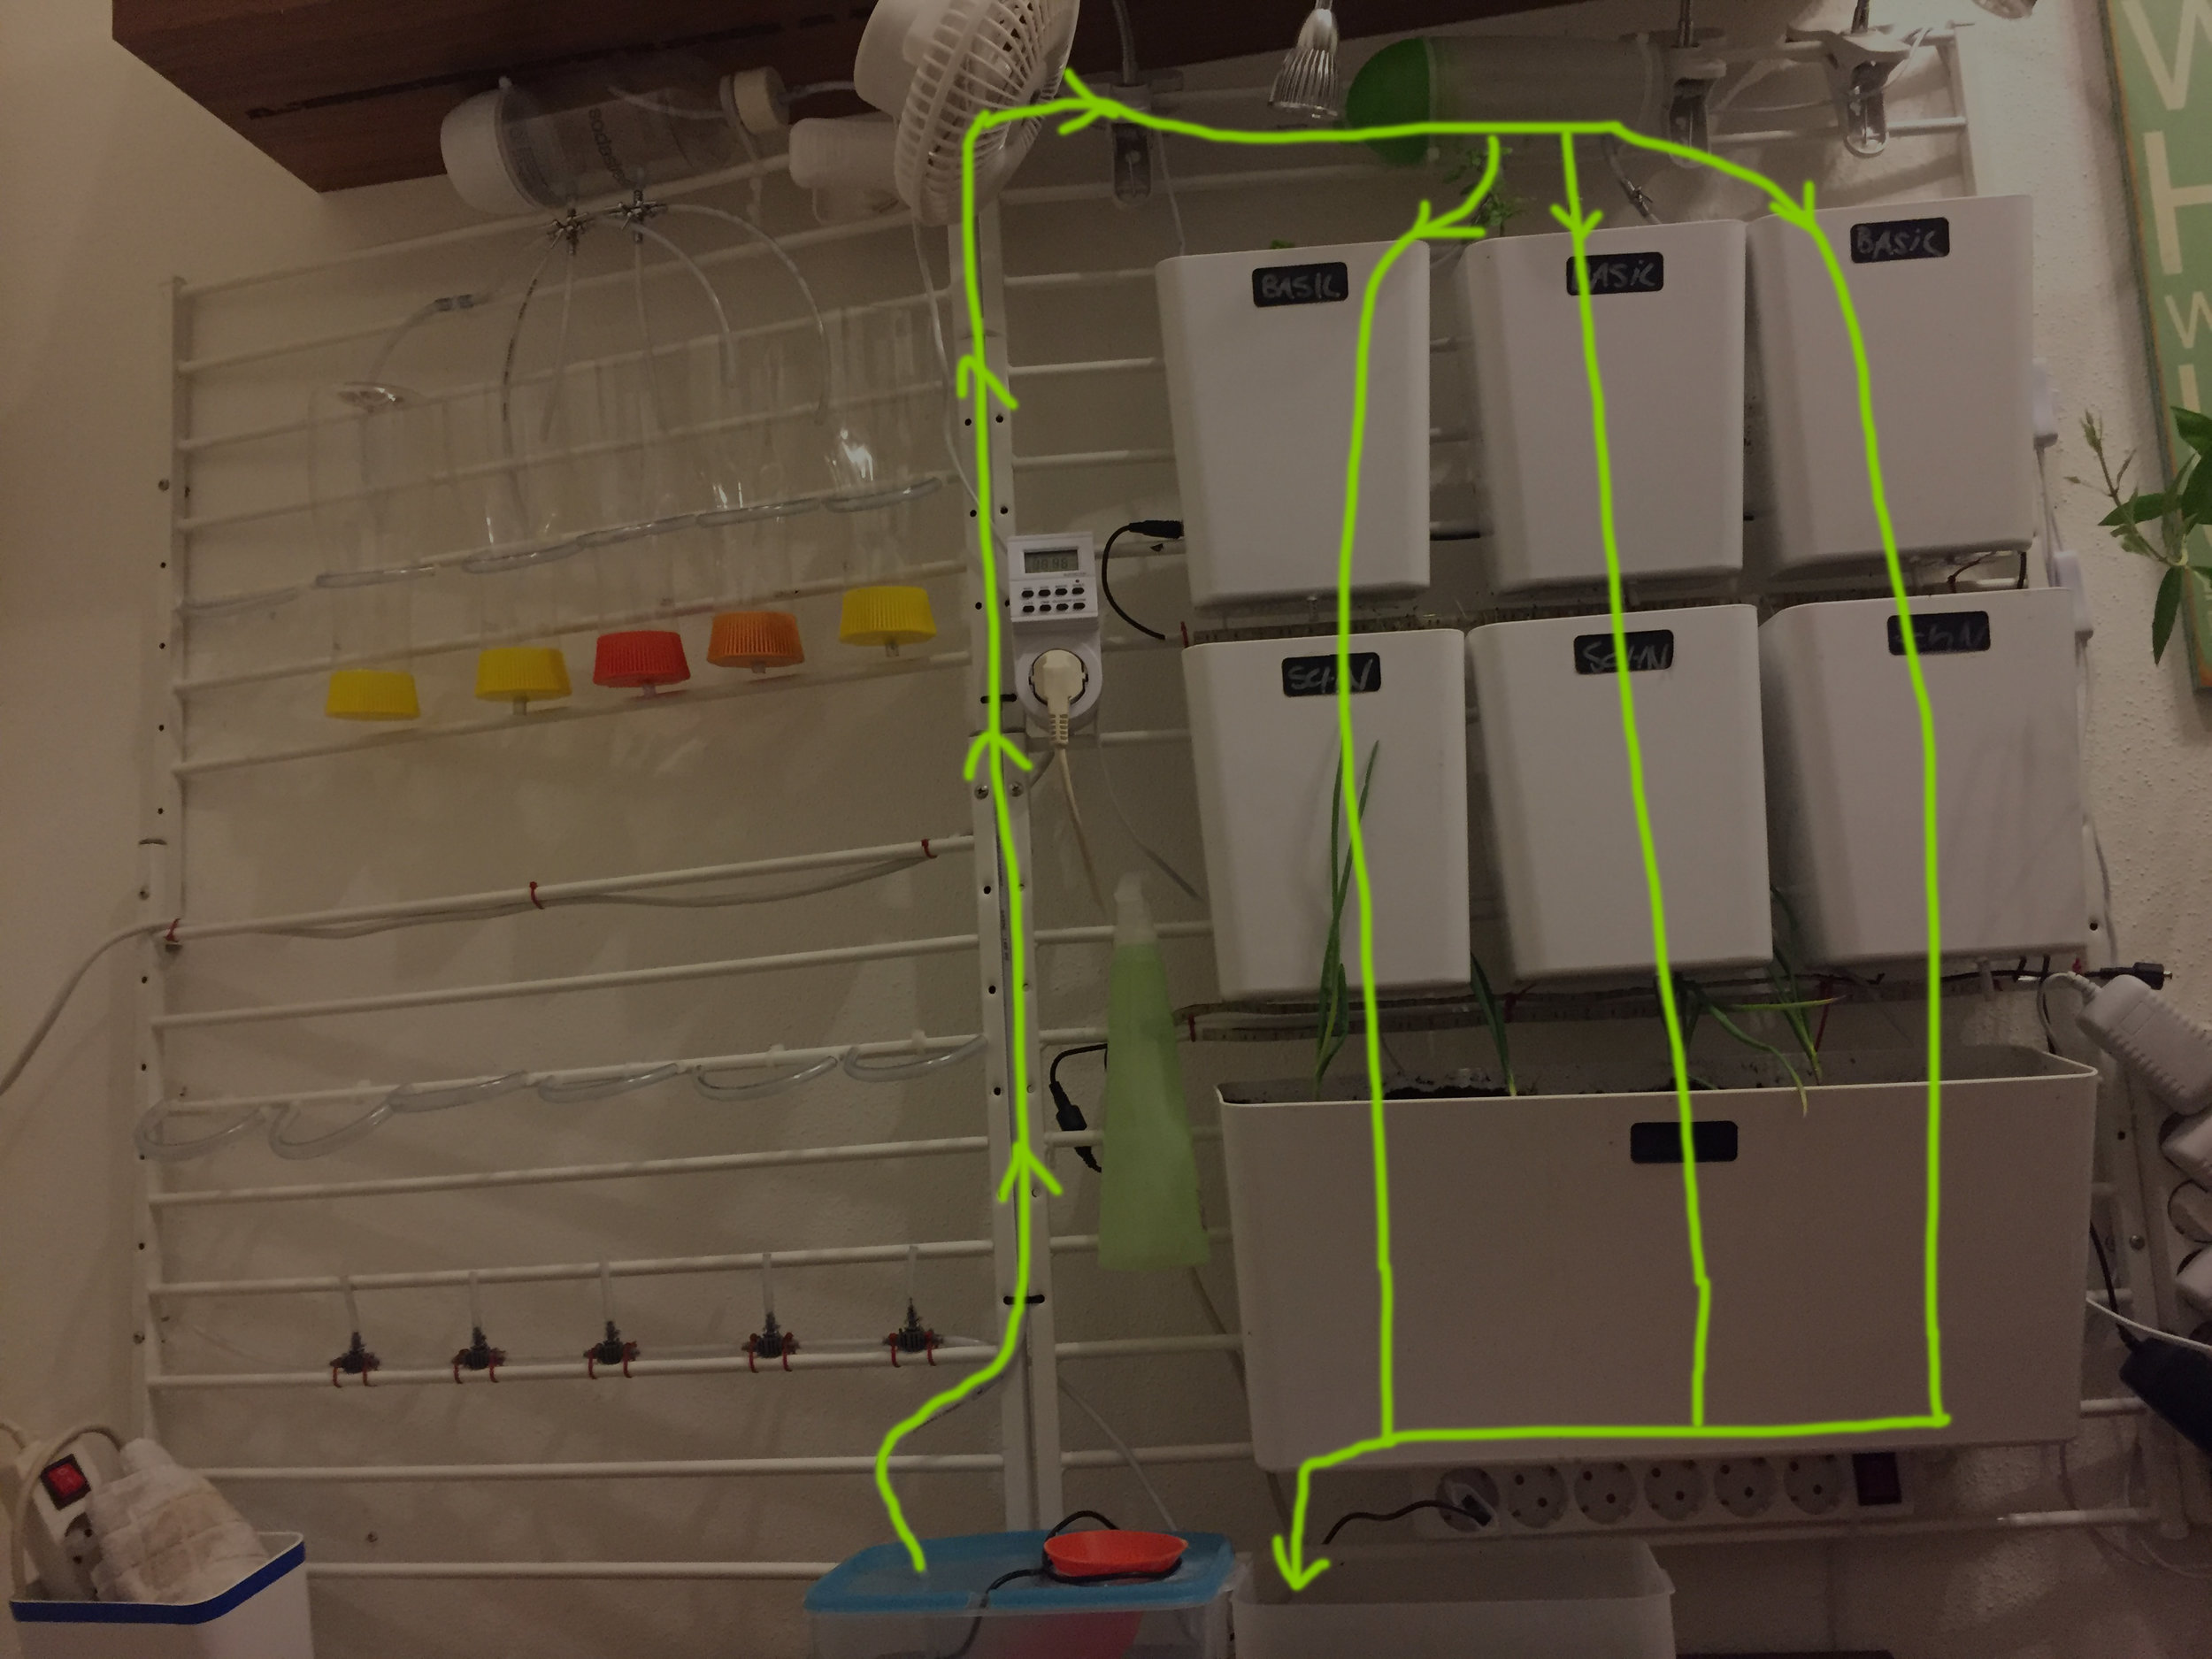
Two Separate Water Systems


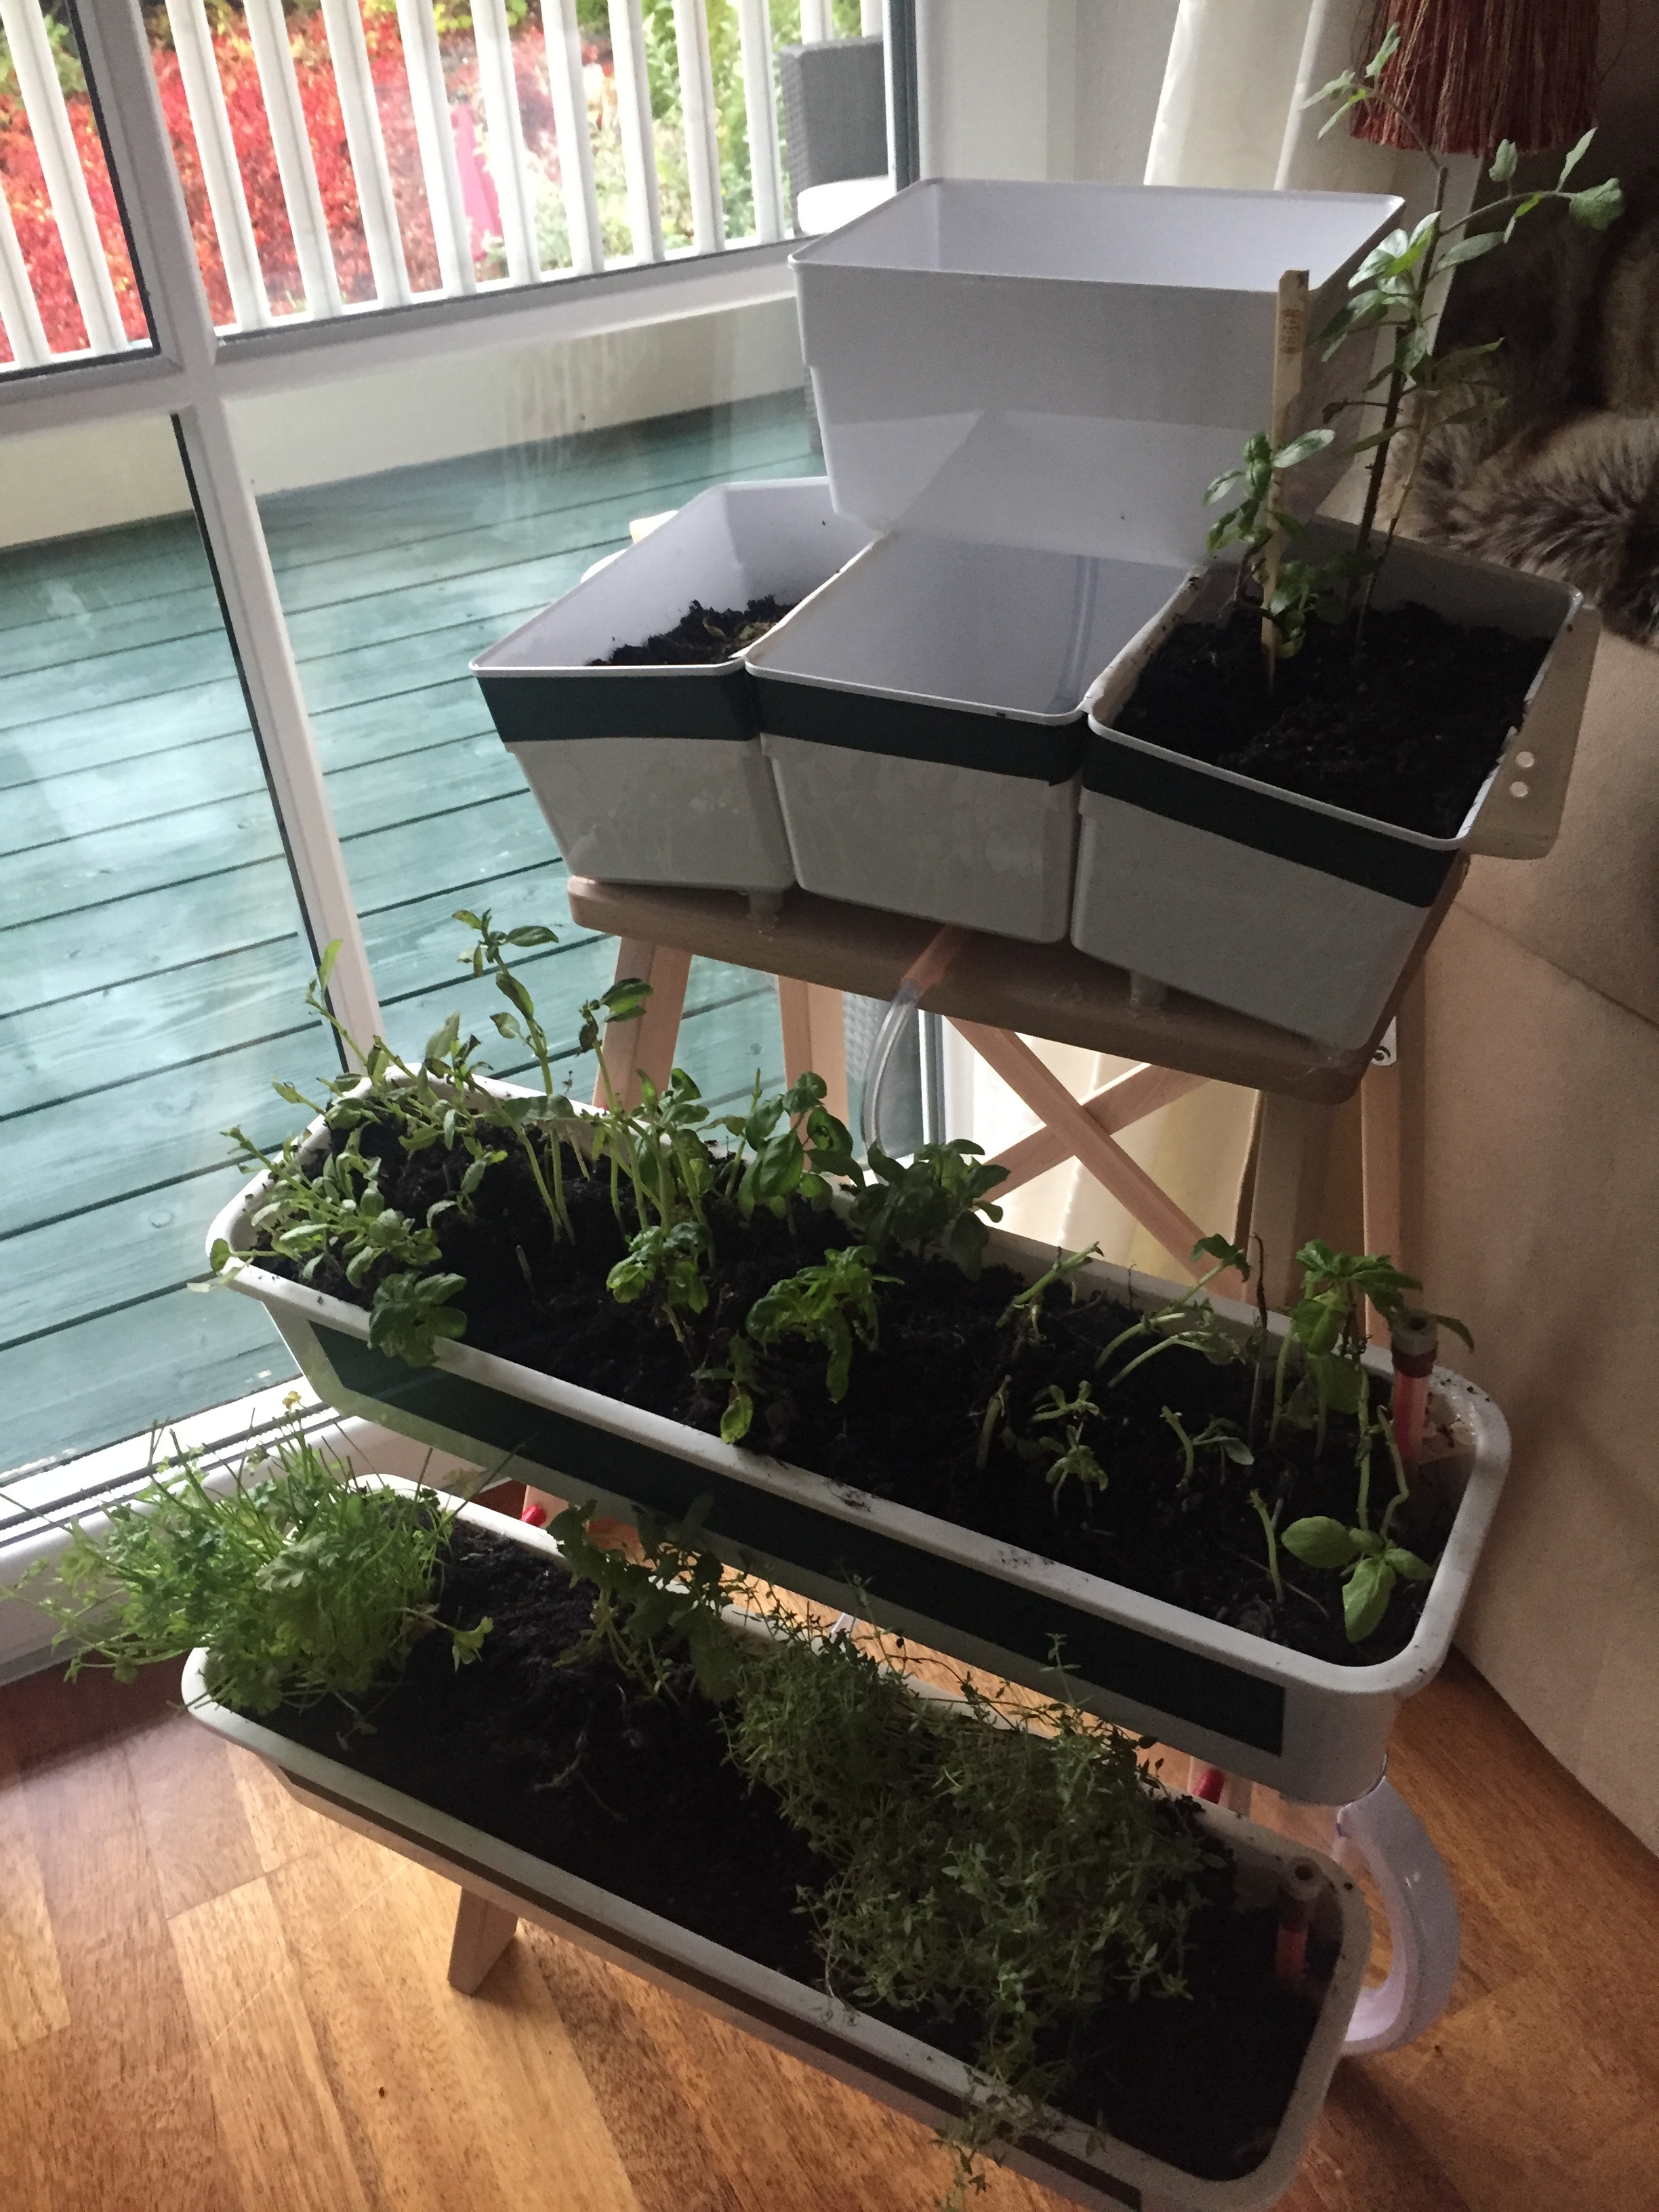
PROGRESS
after 12 weeks

(The left installation was installed 2 weeks ago, as the photo was taken)
PROS
⊕ massive light improvement (plant LED bulbs)
⊕ nice white light
⊕ good water flow
⊕ about 2-3 liter water per week ( poured once a week)
CONS
⊖ the cases are too long and consume a lot of space
⊖ output of the plants is too little in relation to the size of the construction
⊖ it was a mistake to drill the exit to the bottom of the case, because it's not stand-alone
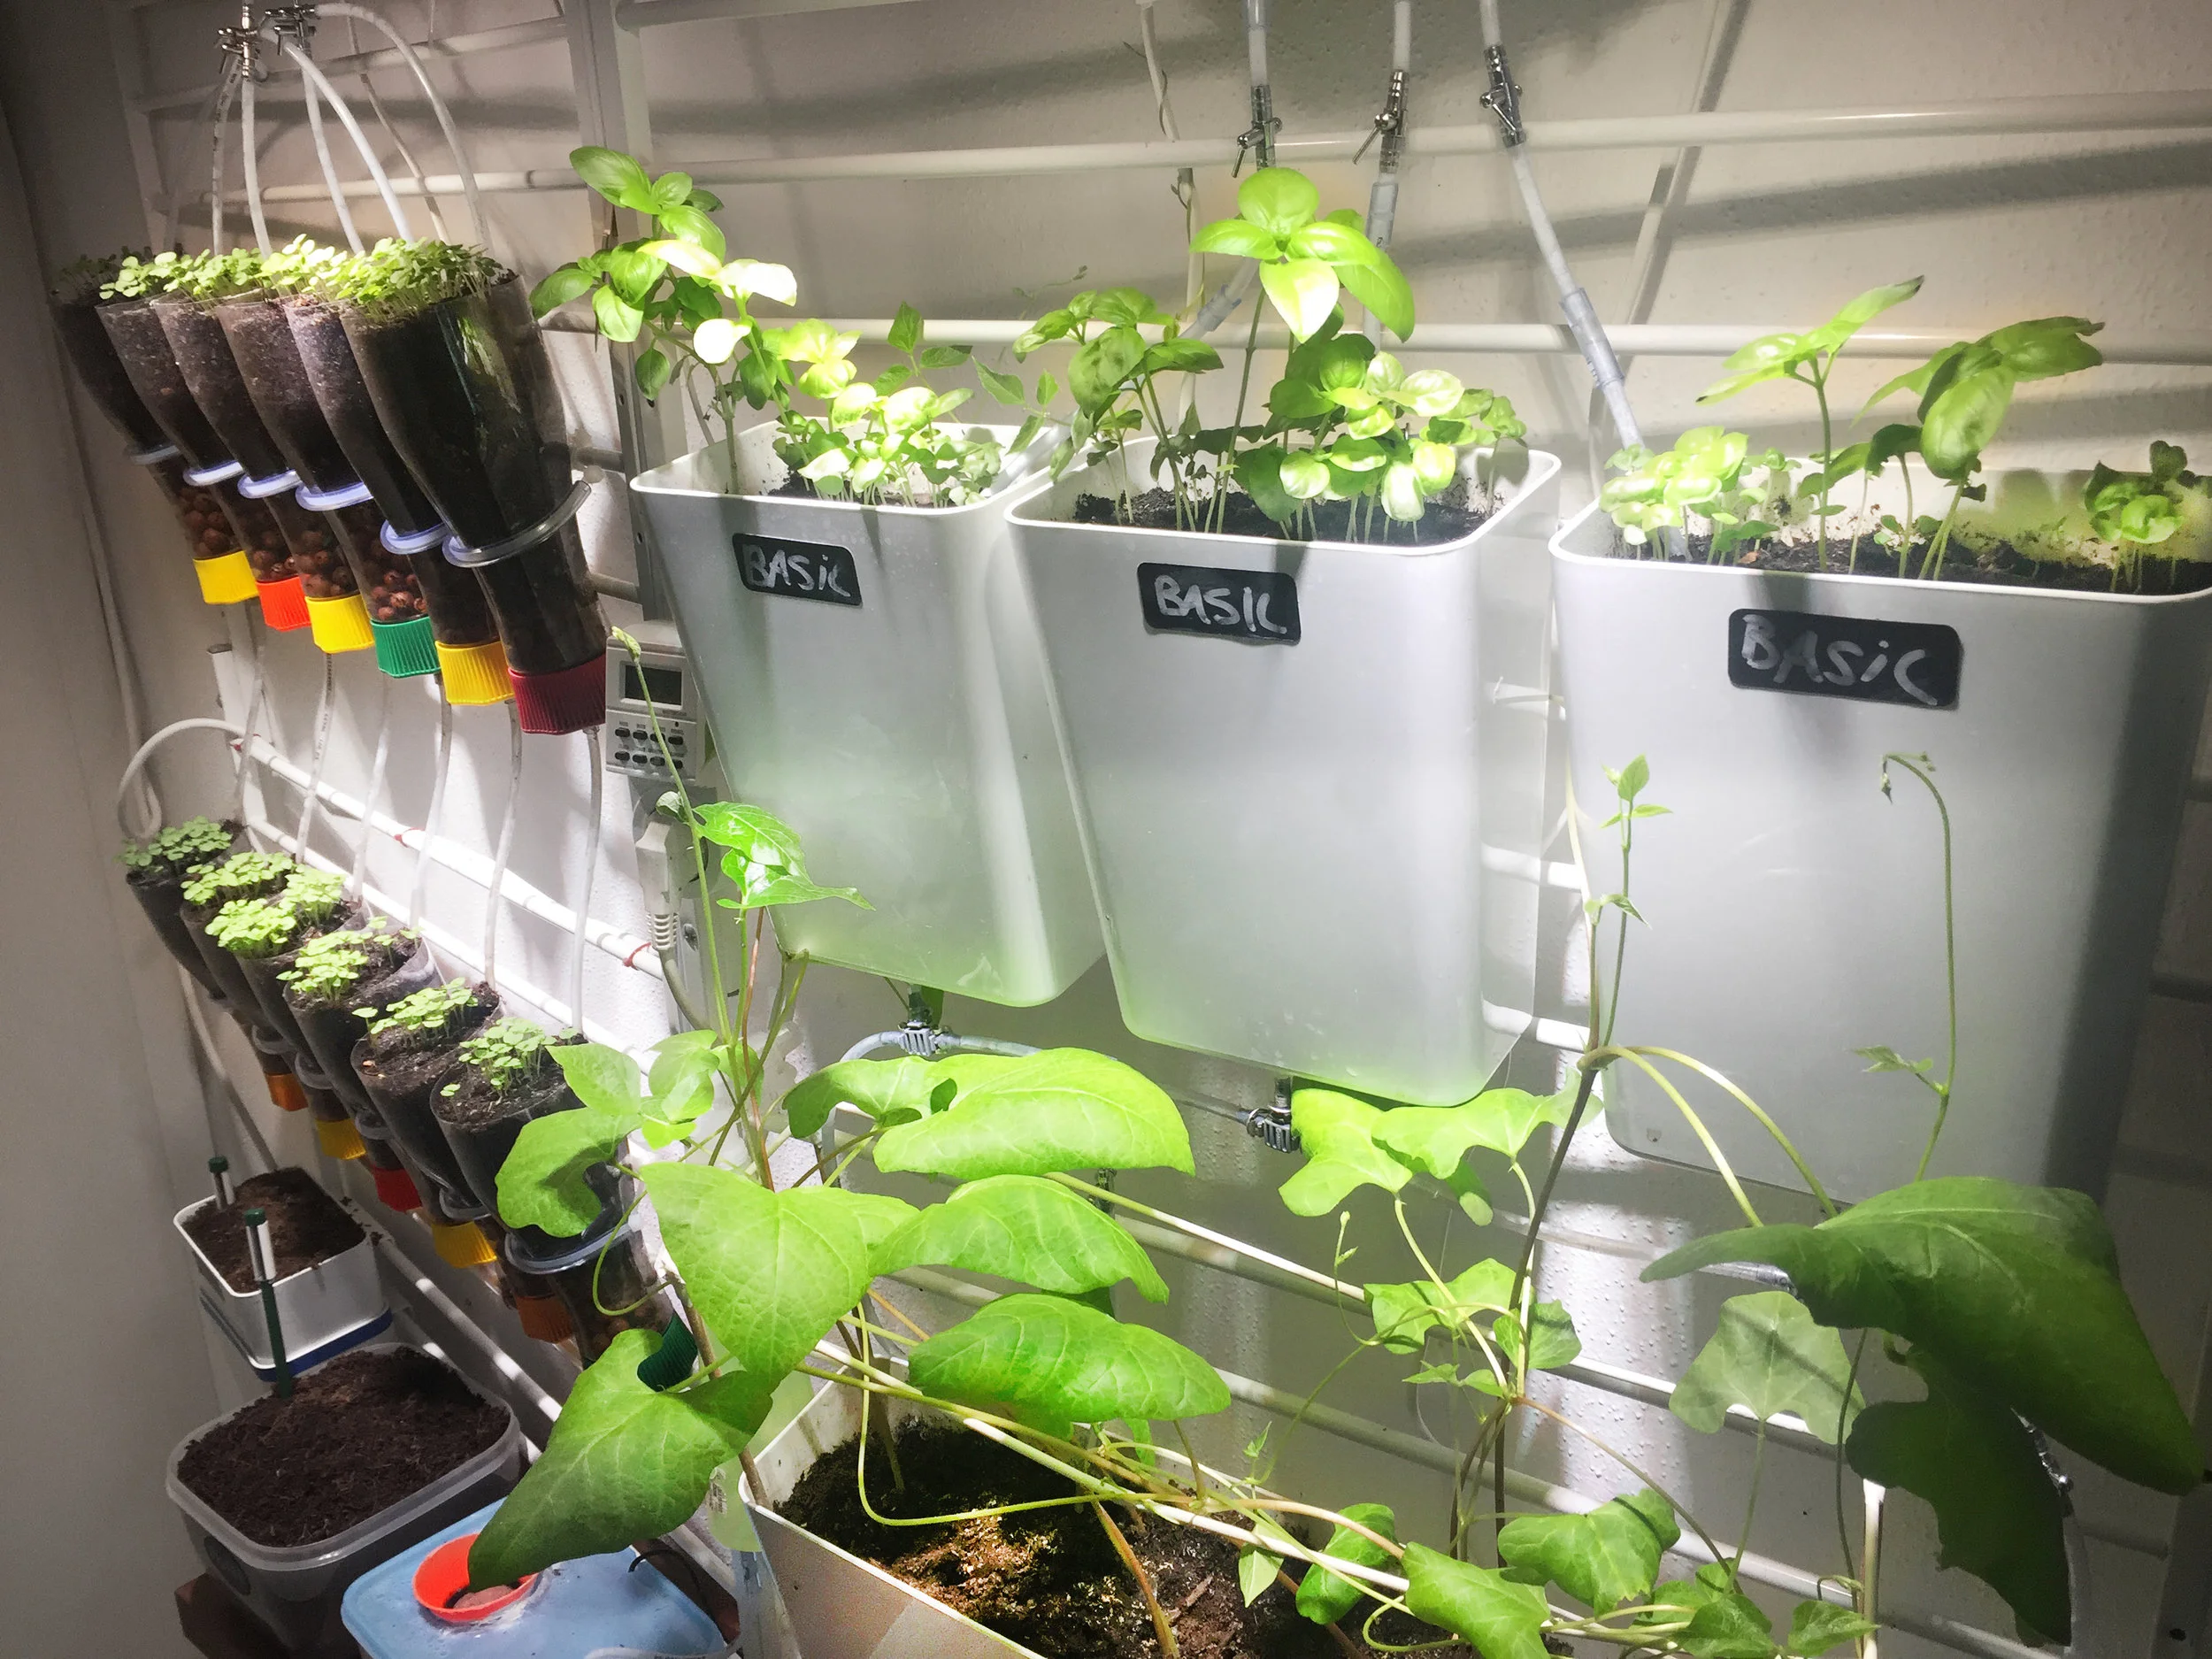
EDITION 3
Light Improvement worked with a additional construction to place the plant-bulbs higher:


Light
based on 4 plant bulbs with regular bulb fittings (normally used for reading lights) it works fine so far.
The timer activates them from 09:00AM to 04:00PM. The new construction is much more minimalistic but has a better output and use of space.
Air
The fan is now installed to the wall (about 2meters away) so there is a more balanced effect
Soil
I used a combination of herbage-soil extended with Verimiculit (you need that to aerate the soil for better water flow and reduce the chance of mildew.
Cases
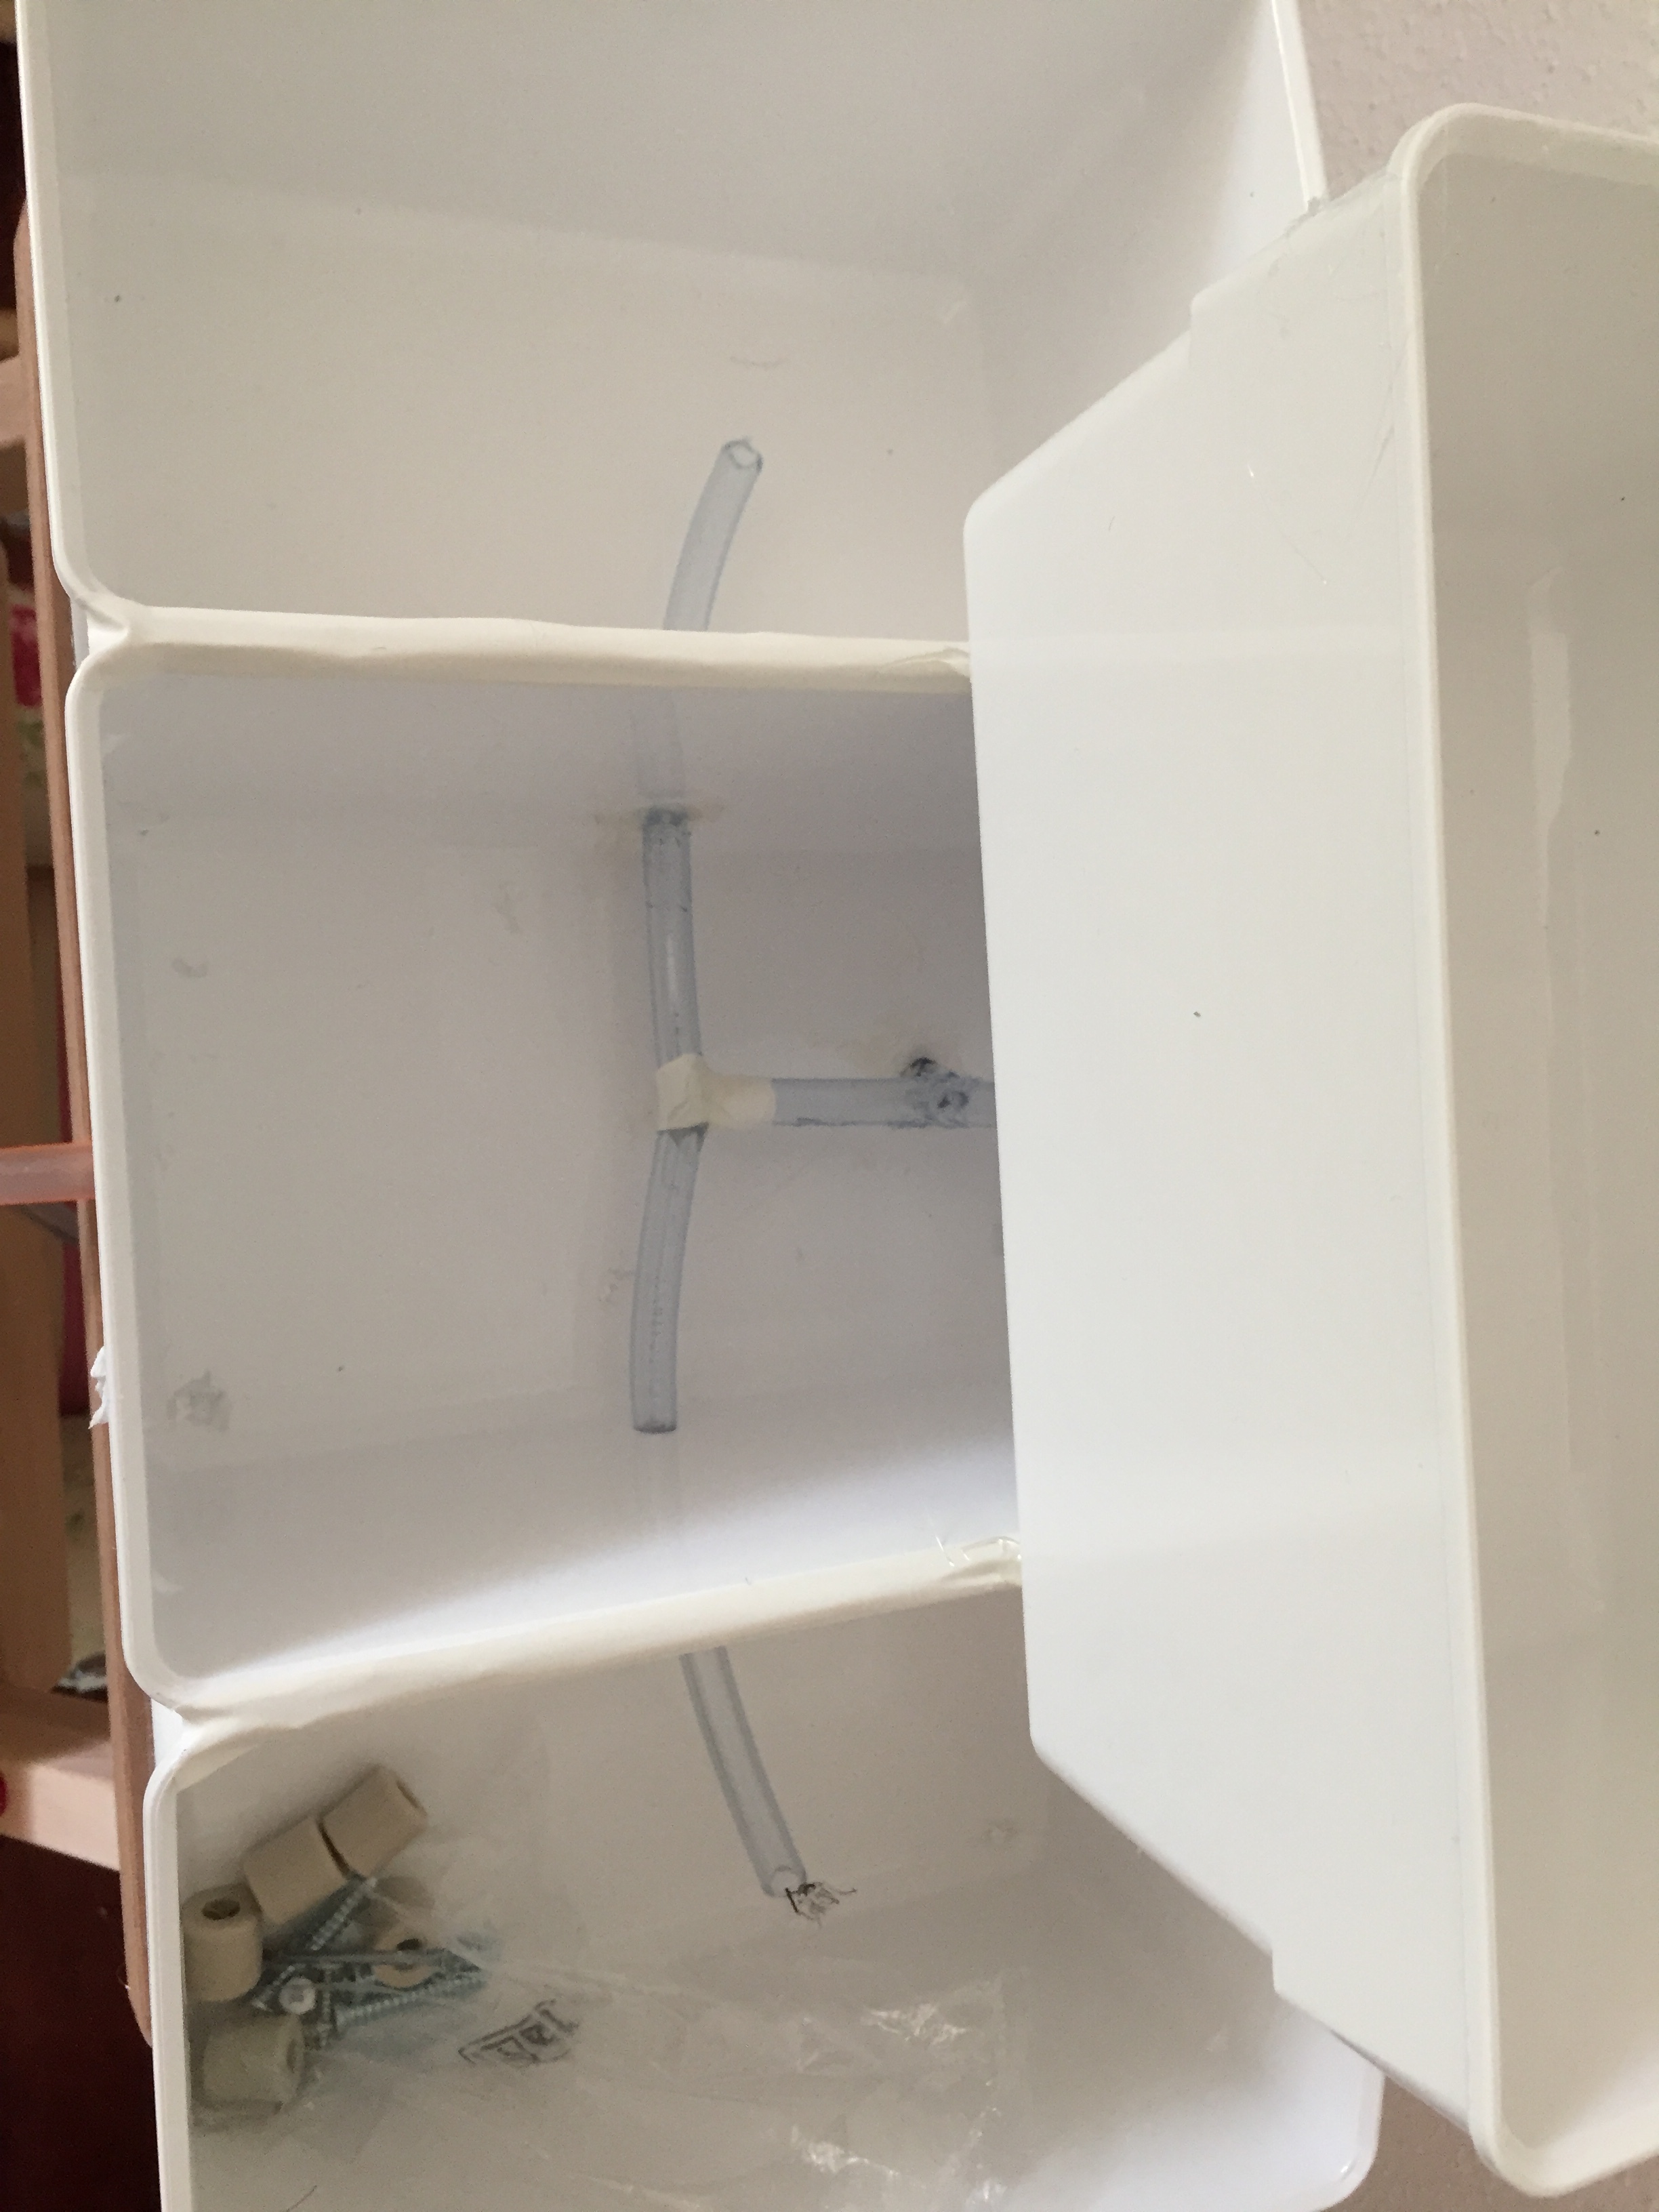
The new cases are include more load of soil separated on 6 elements and splitted onto 2 water lines.
Not each case has a drilled hole (6mm) on the lower front. I glued a 6mm tube ring and connected it( plug&play) a 4mm tube as connection from one case to the next lower one.
Water
The water-tank is on top now. It takes about 6 liter for the whole construction
The pump only needs to be activated for 3 seconds and then turned off again. The under-pressure in the tube sucks complete the tank empty within about 10 minutes

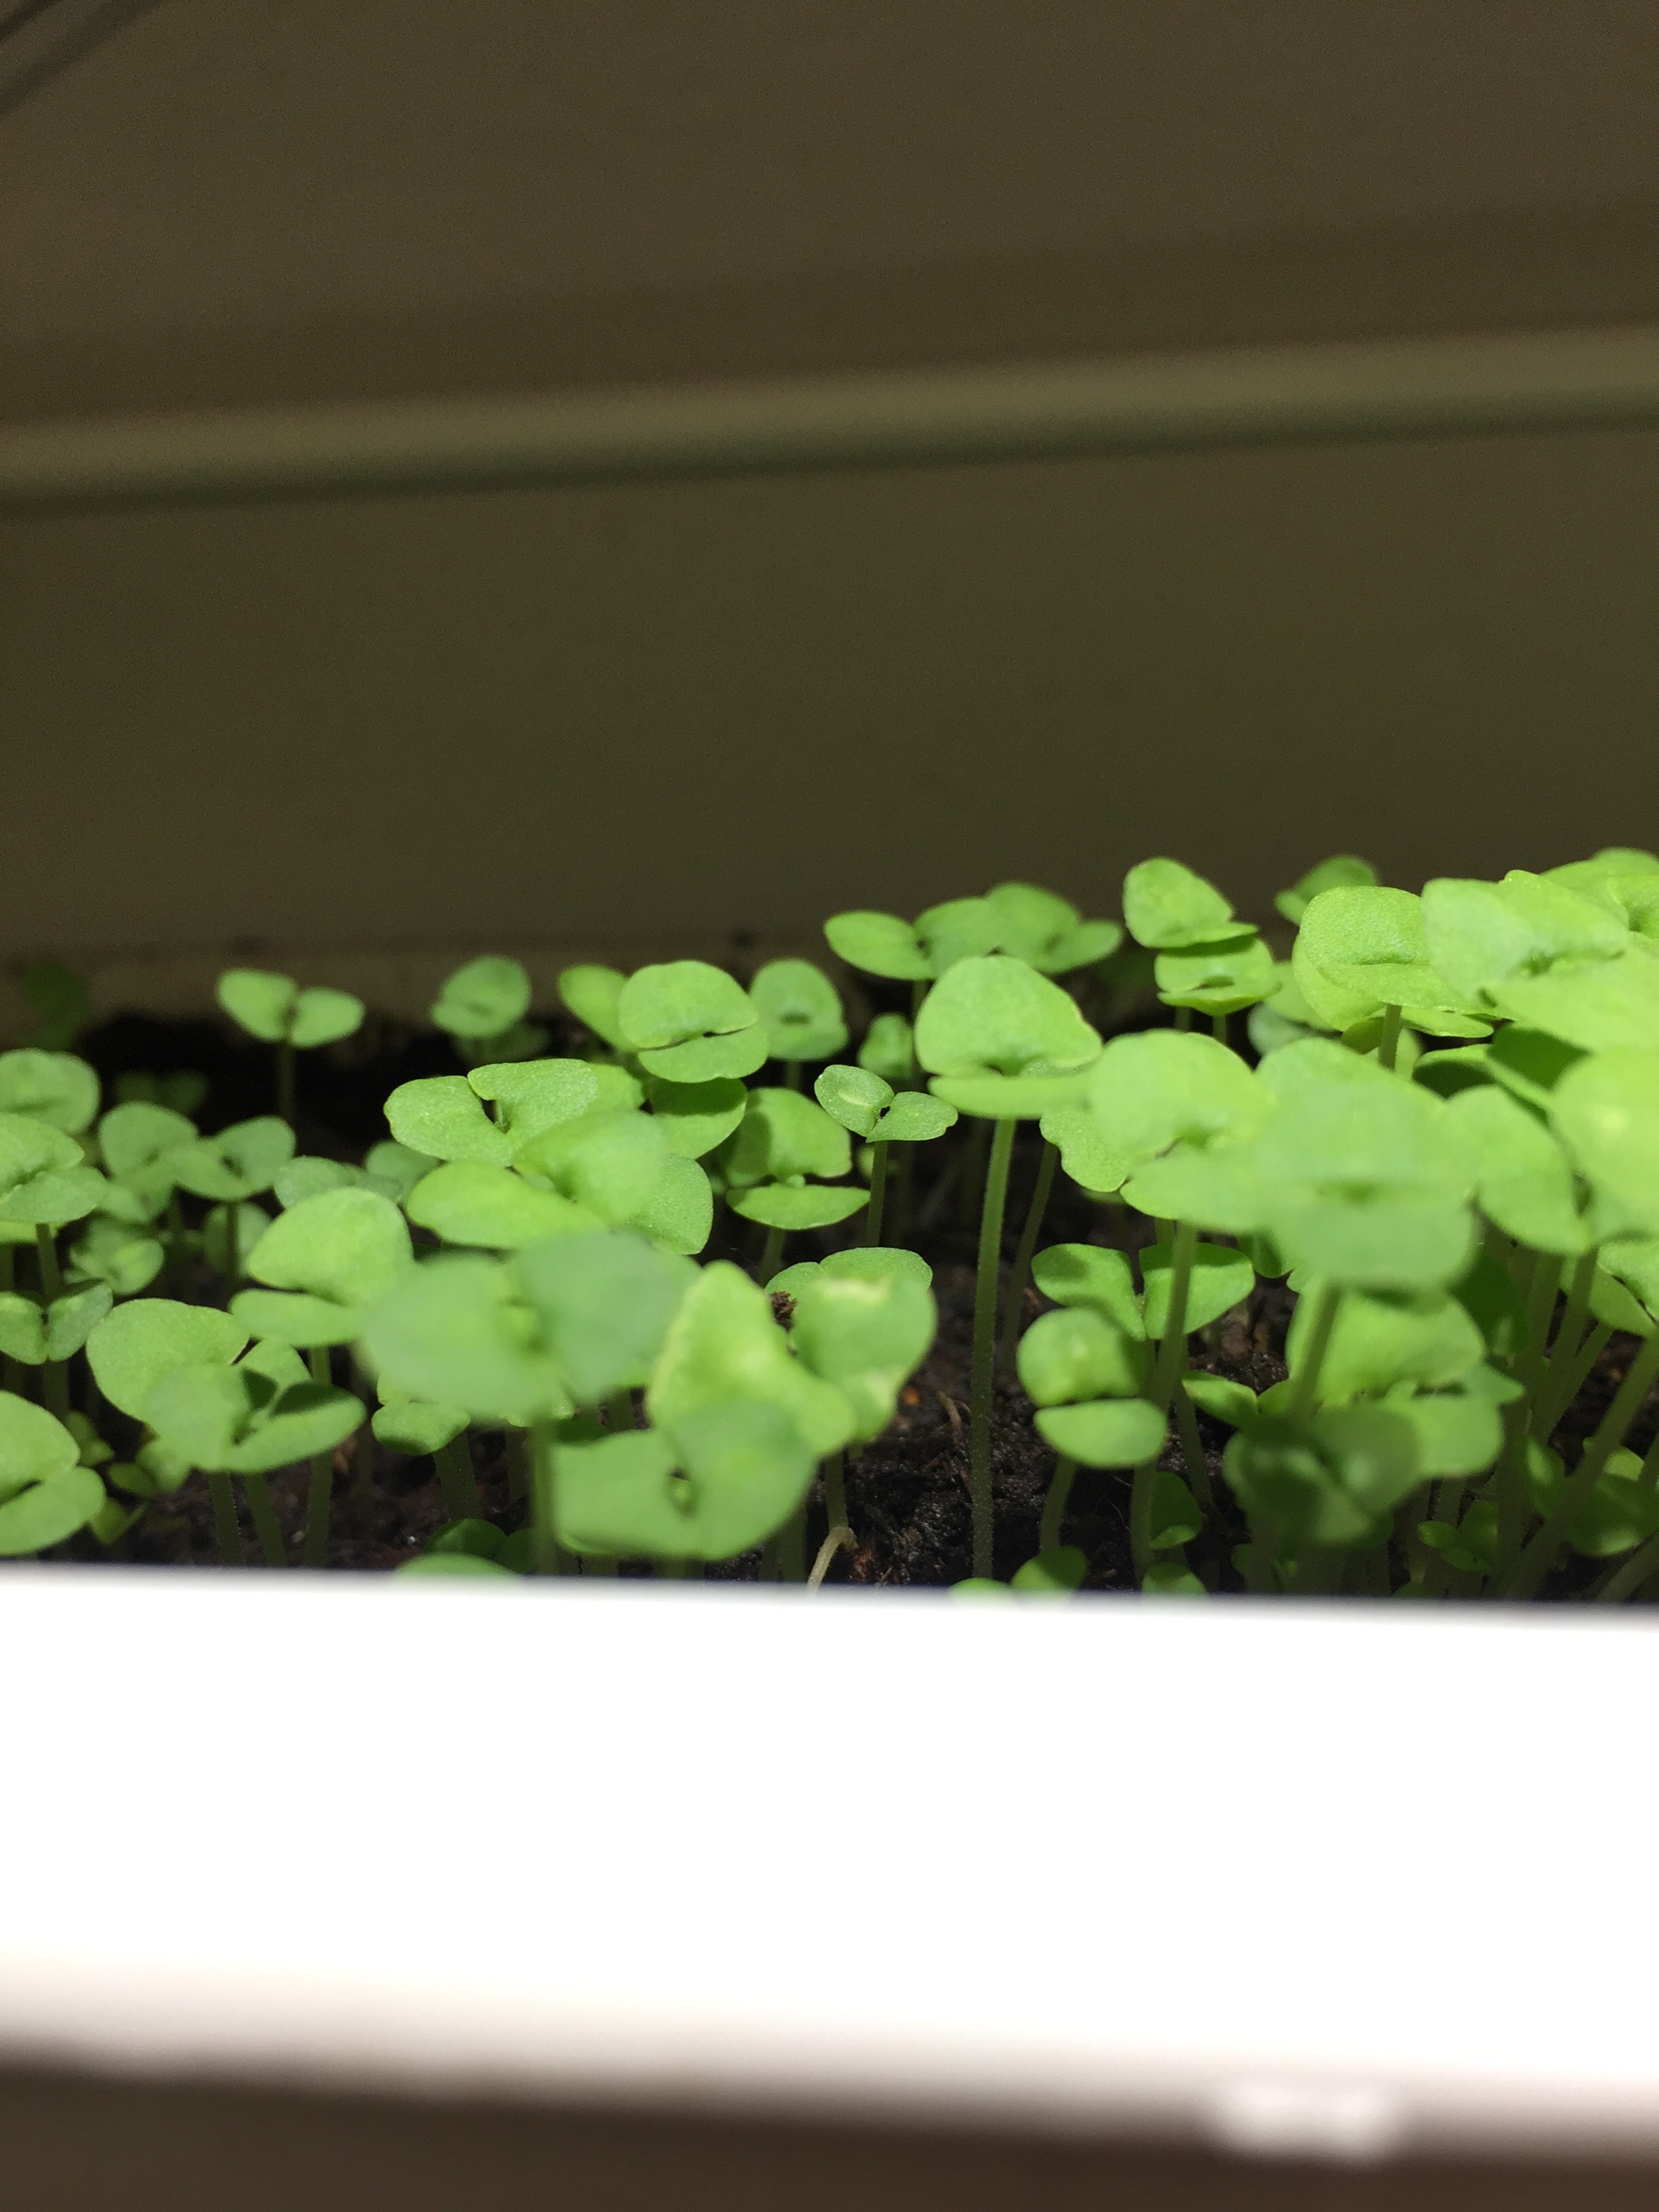
Progress after 14 Days


futher progess will be shown here...